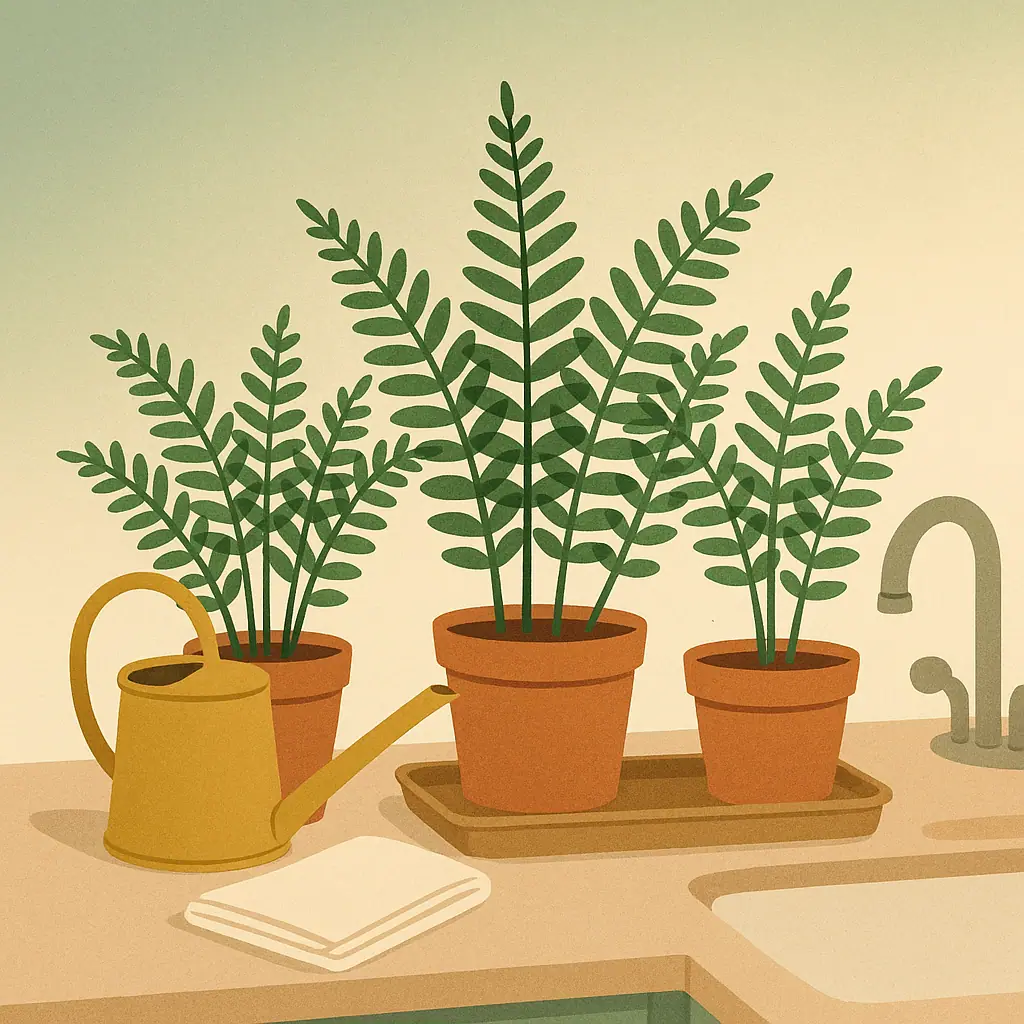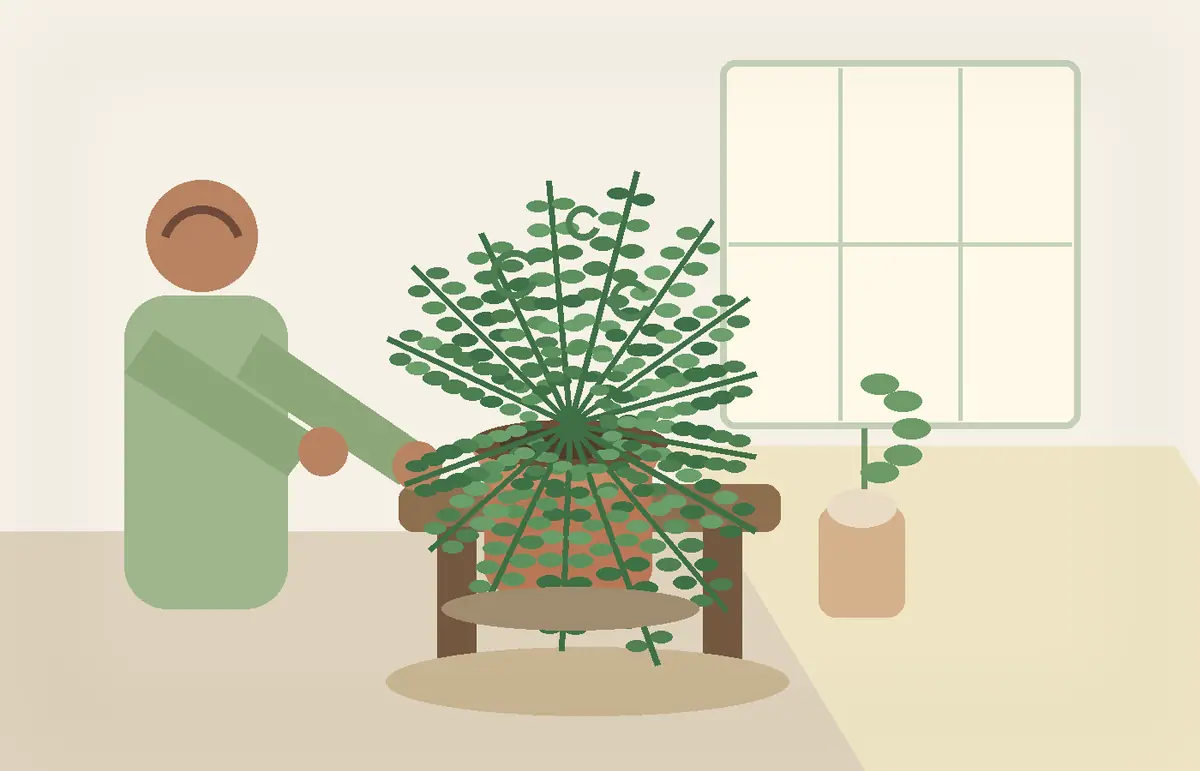
New fern care first week should feel quiet and observant, not busy. A newly purchased fern has already been through a lot: a grower, a truck, a store shelf, a ride home, and now a new room with different light, air, water, and temperature.
The kindest thing you can do in the first week is help the plant settle in before you start changing everything. Think of this week as a welcome period. You are learning what the fern looks like in your home, and the fern is adjusting to its new daily rhythm.
A few fronds may droop, a lower leaflet may brown, or the soil may dry faster than it did at the store. Those signs deserve attention, but they do not always mean something is wrong. The goal is to check carefully, make small decisions, and avoid the common urge to repot, feed, prune, and move the plant all at once.
Why New Fern Care First Week Matters
The first week matters because it sets the pattern for the next month. Ferns generally prefer indirect light, even moisture, good drainage, and a humid atmosphere. The UConn Home Garden Education Center guide to growing indoor ferns notes that indoor ferns need indirect sunlight, moist soil, and humidity, with containers that drain well.
That does not mean you need a perfect setup by bedtime. It means the first week should be used to place the fern wisely, check the soil before watering, and watch how the fronds respond before making bigger changes.
Start With Basic Fern Care, Not Perfection
Basic Fern Care begins with a simple question: where can this fern rest without being stressed by harsh sun, hot air, cold drafts, or constant handling?
A bright room is usually better than a dark corner, but most indoor ferns do not want strong direct afternoon sun on their fronds. If you are not sure how your window behaves, FernLog's guide to telling if a fern is too close to a window can help you compare light, heat, and draft clues.
Choose one starting place
Pick a spot with bright indirect light, away from heating vents, exterior doors, fireplaces, and cold glass. Once the fern is placed, resist moving it from room to room during the first week unless the spot is clearly too hot, too sunny, or too cold.
Leave the nursery pot alone at first
If the nursery pot has drainage and the fern is not falling over, leave it alone for now. Repotting right away may disturb roots at the same time the plant is already adjusting to a new home.
What to Check First With a New Fern
The first inspection should be gentle. You are not looking for a reason to worry. You are creating a baseline so you can tell whether the plant is improving, declining, or simply settling in.
- Frond posture: Notice whether the plant looks upright, relaxed, limp, or uneven on one side.
- Soil moisture: Feel the top inch of the potting mix before watering. Moist is different from soggy.
- Drainage: Make sure water can leave the pot and the fern is not sitting in a full saucer.
- Window exposure: Watch for direct sunbeams, hot glass, or cold drafts at the time of day the plant sits there.
- Old damage: Brown tips, broken stems, or tired lower fronds may have happened before the plant came home.
- New growth: Look for small unfurling fronds or firm green centers before judging the whole plant.
If you like a broader observation routine, the article on reading your fern like a daily weather report explains how small frond and soil signals can guide care without overreacting.
How to Handle New Fern Care First Week Step by Step
Use this seven-day rhythm as a guide. It is not a strict schedule. If your home is very dry, very warm, or very cool, the soil may behave differently. Let the plant's condition lead the timing.
- Day 1: Place and observe. Set the fern in bright indirect light. Remove any plastic sleeve, check that the pot drains, and take a clear photo so you can compare later.
- Day 2: Check soil before watering. If the top feels barely moist and the pot still has weight, wait. If the mix feels dry near the surface, water gently until excess drains out.
- Day 3: Watch the light pattern. Look at the plant in morning, midday, and afternoon light if possible. Move it back from harsh direct sun rather than waiting for scorch.
- Day 4: Trim only obvious dead material. Remove fully brown, dry fronds if they bother you, but do not give the plant a heavy haircut.
- Day 5: Check humidity comfort. If the room is dry, group the fern near other plants, use a pebble tray that keeps the pot above water, or place it in a naturally brighter bathroom if the light is suitable.
- Day 6: Look for pests calmly. Check under fronds and near the soil surface. If you see insects, isolate the plant and identify the problem before treating.
- Day 7: Decide on one small adjustment. If the fern looks stable, keep the routine. If it looks stressed, adjust only the clearest issue: light, watering, draft, or drainage.
What Not to Do During the First Week
Many fern problems begin with kindness that comes too fast. A new plant makes people want to help, but too much help can feel like another move to the fern.
Observe before acting
Daily checks help you separate old store damage from new stress in your home.
Keep watering steady
Checking the soil before watering protects the fern from both drying out and sitting in soggy mix.
Use gentle light
Bright indirect light gives the plant a calmer place to settle than a hot sunny window or a dim corner.
Repotting too quickly
Unless the pot is broken, waterlogged, or unsafe, repotting can add root stress during an already busy week.
Fertilizing a stressed plant
Fertilizer is not a welcome gift for a fern that is drooping from transport, light shock, or wet soil.
A Simple First-Week Checklist
Keep this checklist near the plant for the first few days. A paper note is fine. The habit matters more than the format.
- Light: Is the fern in bright indirect light instead of direct hot sun?
- Water: Did you feel the soil before watering?
- Drainage: Is the saucer empty after water runs through?
- Air: Is the plant away from heating vents, air conditioning blasts, and cold exterior doors?
- Fronds: Are changes mostly on older fronds, or is new growth also struggling?
- Handling: Have you avoided unnecessary repotting, heavy pruning, and repeated moves?
- Notes: Did you write down one observation instead of trying to remember every detail?
If you suspect you are doing too much, FernLog's guide to telling if your fern needs less attention is a helpful next read. Many indoor ferns improve when the routine becomes steadier and less dramatic.
When to Get Extra Help
Ask a local nursery, cooperative extension office, or experienced plant friend for help if the fern arrives with visible pests, black mushy stems, sour-smelling soil, or a pot that stays wet for days. Those are stronger clues than one tired frond.
Bring photos of the whole plant, the pot, the soil surface, the underside of fronds, and the window area. Clear photos help someone else see whether the issue is old damage, watering stress, light exposure, pests, or drainage.
If the plant only looks a little droopy after the trip home, give it a quiet place and a few days of observation. A newly moved fern often needs steadiness more than intervention.
Frequently Asked Questions
Should I repot a new fern during the first week?
Usually, no. If the nursery pot drains and the plant is stable, wait until the fern has adjusted. Repot sooner only if the pot is broken, unsafe, badly waterlogged, or clearly too cramped to water properly.
How often should I water a new fern in the first week?
Check the soil instead of following a fixed calendar. Water when the upper mix begins to feel less moist, then let extra water drain away. Do not leave the pot sitting in water.
Is it normal for a new fern to drop a few pieces?
A few older or damaged bits may dry or drop after the ride home. Watch the pattern. Widespread drooping, blackening, pests, or sour soil deserves a closer look.
Can I fertilize a new fern to help it settle in?
Wait. Fertilizer is best for a stable, actively growing plant. During the first week, focus on light, moisture, drainage, and calm observation.
Final Thoughts
The first week with a new fern is not about proving you are a perfect plant owner. It is about giving the fern a reasonable place to rest and giving yourself time to learn its normal signals.
Choose gentle light, check moisture before watering, avoid big changes, and watch the next new growth. That simple rhythm keeps new fern care first week calm, practical, and much easier to repeat.