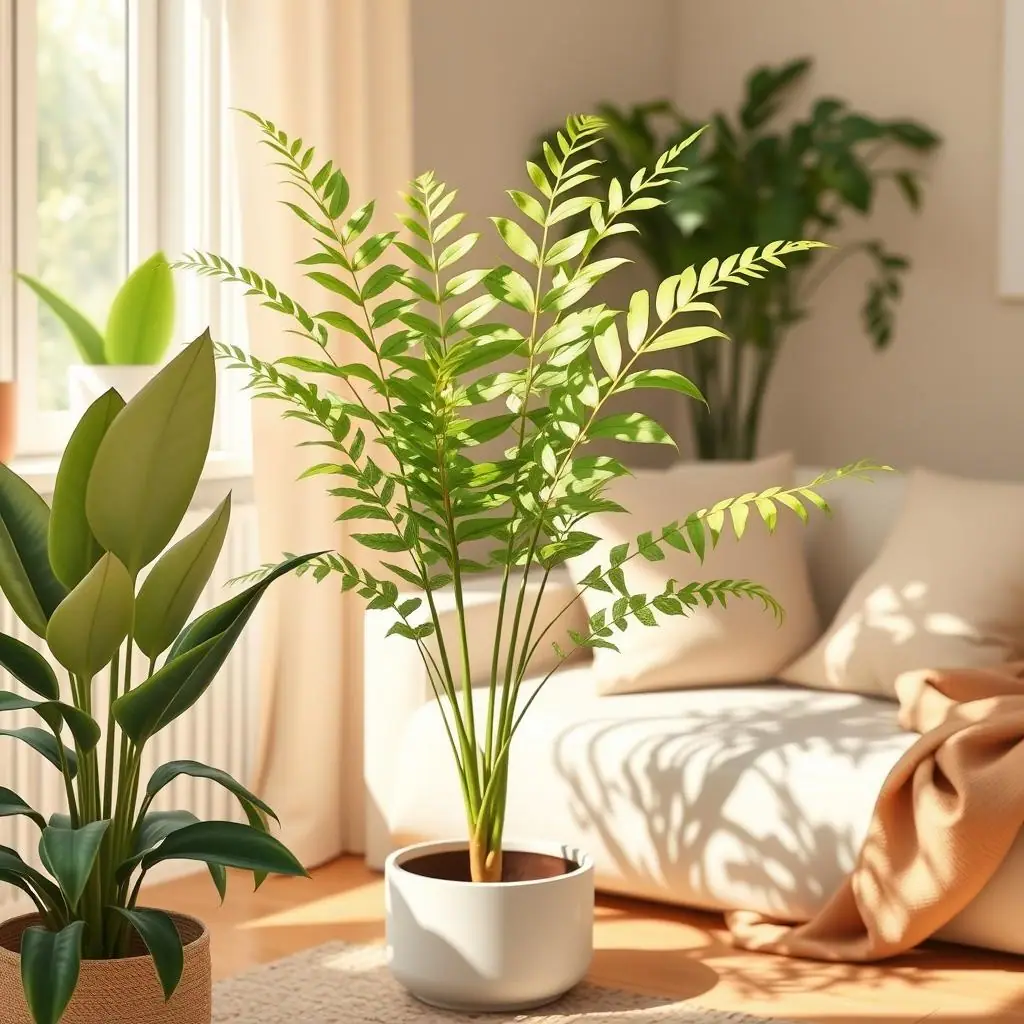
Kangaroo paw fern care feels friendlier than many people expect from a fern. This plant has glossy, hand-shaped fronds, creeping rhizomes, and a relaxed habit that can look at home on a table, shelf, plant stand, or hanging basket.
If you have struggled with fussy ferns before, the kangaroo paw fern can be a reassuring second try. It still asks for steady moisture, gentle light, and some humidity, but it usually gives clear signals before anything becomes serious.
Why Kangaroo Paw Fern Care Matters
The kangaroo paw fern is often sold under the name Microsorum diversifolium, though some plant references now list it under updated botanical names. For a home grower, the important point is simple: this is a creeping, rhizomatous fern with leathery green fronds and a preference for bright, indirect light.
North Carolina Extension describes kangaroo paw fern as a houseplant that prefers partial to full shade or bright indirect light, moist but well-drained potting mix, and watering when the soil surface begins to dry. That source also notes that overwatering and standing water can lead to root trouble. You can review the plant profile here: NC State Extension Kangaroo Paw Fern profile.
That guidance is useful because it keeps care balanced. This fern does not want to be baked in sun, but it also does not want to sit in stale, soggy soil. The sweet spot is a calm, bright room where the pot can dry slightly at the surface before the next drink.
Start With the Right Fern Species Guide Mindset
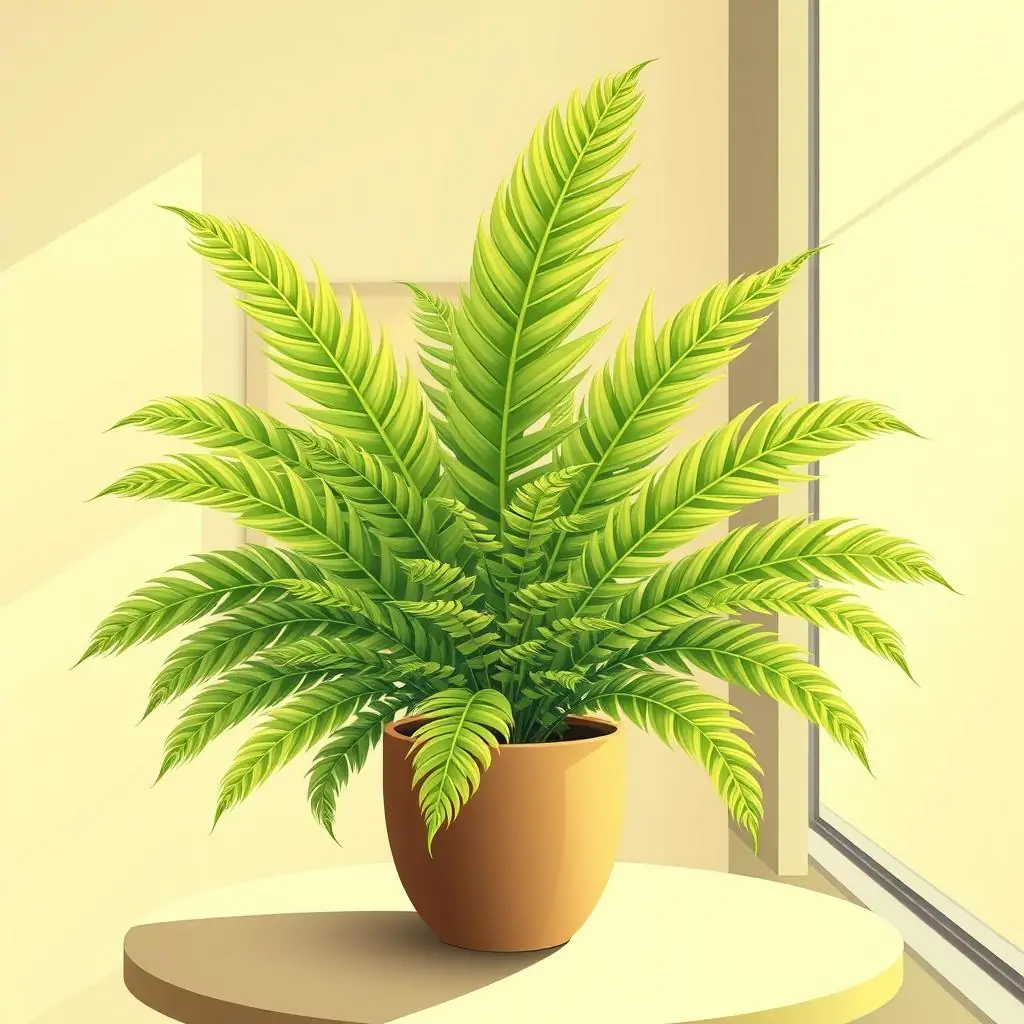
A kangaroo paw fern is not shaped like a Boston fern or a maidenhair fern. Its fronds are broader, glossier, and more leathery, and its creeping rhizomes may travel across the potting mix or edge of the container. That growth habit is normal, not a sign that the plant is escaping.
Look for the plant's natural shape
Healthy fronds should feel firm rather than papery. The color is usually a rich green, and the plant may spread sideways over time. Older fronds can age and fade, but a steady pattern of new growth tells you the fern is settling in.
If you enjoy compact ferns with distinctive character, FernLog's guide to button fern care is a helpful comparison. Button fern has a neater, rounder look, while kangaroo paw fern tends to feel more relaxed and spreading.
Respect the creeping rhizomes
The rhizomes are part of the plant's natural structure. Avoid burying them deeply under fresh soil, and do not trim them just because they look unusual. They help the fern spread and produce new fronds.
What to Check First for Kangaroo Paw Fern Care
Before you adjust anything, spend one minute looking at the growing conditions. A slow, careful check prevents the common mistake of watering more when the real issue is light, heat, or drainage.
- Light: Choose bright, indirect light or gentle filtered light. Avoid harsh afternoon sun that can scorch the fronds.
- Water: Water when the top of the potting mix begins to dry, then let extra water drain away fully.
- Drainage: Use a pot with drainage or a removable nursery pot inside a decorative container.
- Humidity: Average indoor humidity may work, but dry winter air can lead to brown tips.
- Temperature: Keep the fern away from cold windows, hot radiators, and strong heating vents.
- Rhizomes: Let creeping rhizomes sit near the surface instead of burying them under heavy soil.
How to Handle Kangaroo Paw Fern Care Step by Step
A steady routine matters more than a complicated routine. Use these steps as a calm weekly rhythm rather than a strict calendar.
Step 1: Place it where light is gentle
Set the fern near a bright window with a sheer curtain, a north-facing window, or a spot a few feet back from stronger light. If the fronds look pale, scorched, or dry at the edges, the light may be too intense. If growth becomes weak and stretched, the plant may need a brighter indirect spot.
For another gentle-light comparison, FernLog's guide to ferns for a north-facing window explains why soft, steady light is often easier for beginner fern care than dramatic sun exposure.
Step 2: Water by touch, not by habit
Press a fingertip into the top inch of potting mix. If it feels lightly dry at the surface, water thoroughly and let the pot drain. If it still feels wet, wait. Kangaroo paw fern likes moisture, but it should not sit in water for days.
Step 3: Keep the soil airy
A good fern mix should hold some moisture while still draining well. If the pot feels heavy for many days after watering, or if the soil smells sour, the mix may be too dense. In that case, wait before watering again and consider repotting later into a lighter, better-draining mix.
Step 4: Watch the frond tips
Brown tips often point to dry air, inconsistent watering, or heat stress. One or two old tips are not an emergency. Spreading browning, crispy edges, or drooping deserves a closer check of light, moisture, and air movement.
Step 5: Feed lightly during active growth
If the fern is growing well in spring or summer, a diluted balanced houseplant fertilizer can be used sparingly. Skip feeding when the plant is stressed, newly repotted, or not actively growing. More fertilizer will not fix poor light or soggy soil.
Common Kangaroo Paw Fern Mistakes to Avoid
Most problems come from trying too hard or reacting too quickly. This fern often responds best to steady, modest care.
More forgiving than delicate ferns
The leathery fronds and creeping habit can make kangaroo paw fern less intimidating for beginners than very fine-textured ferns.
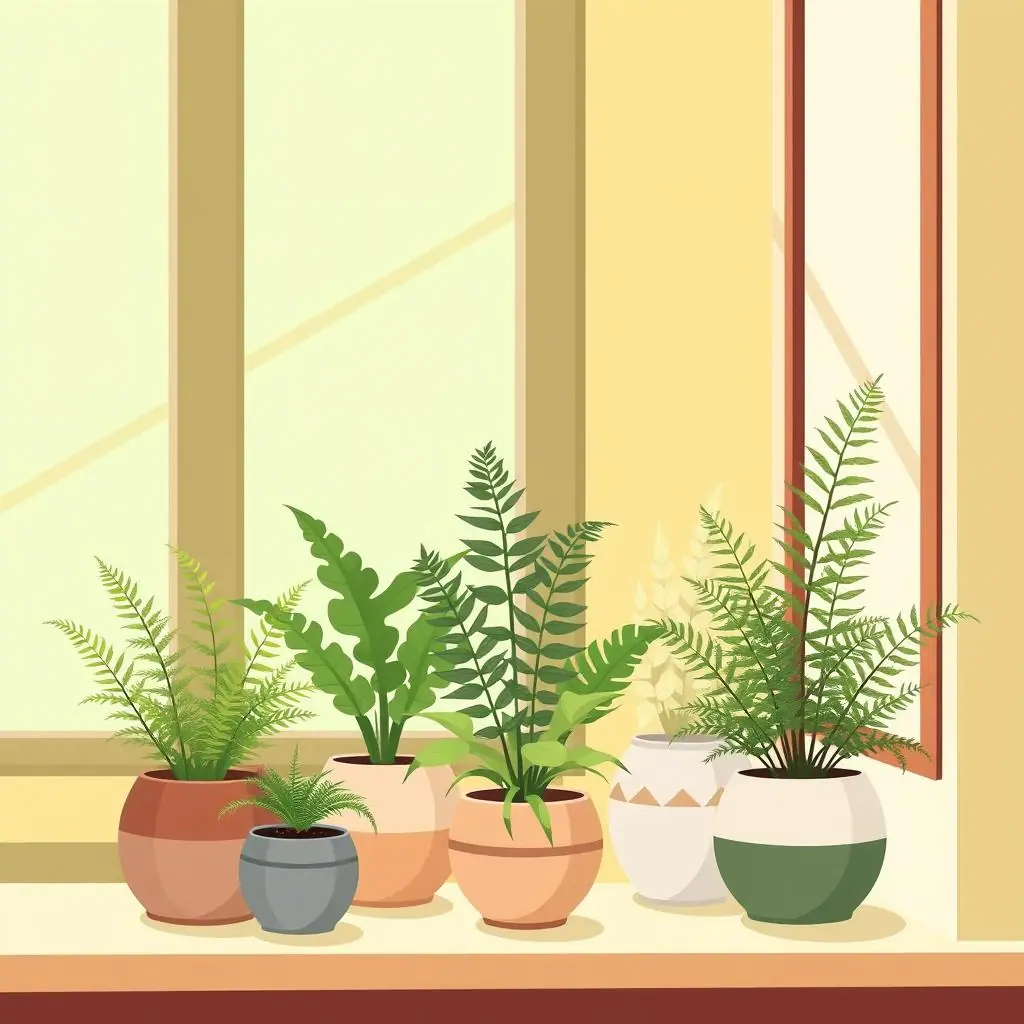
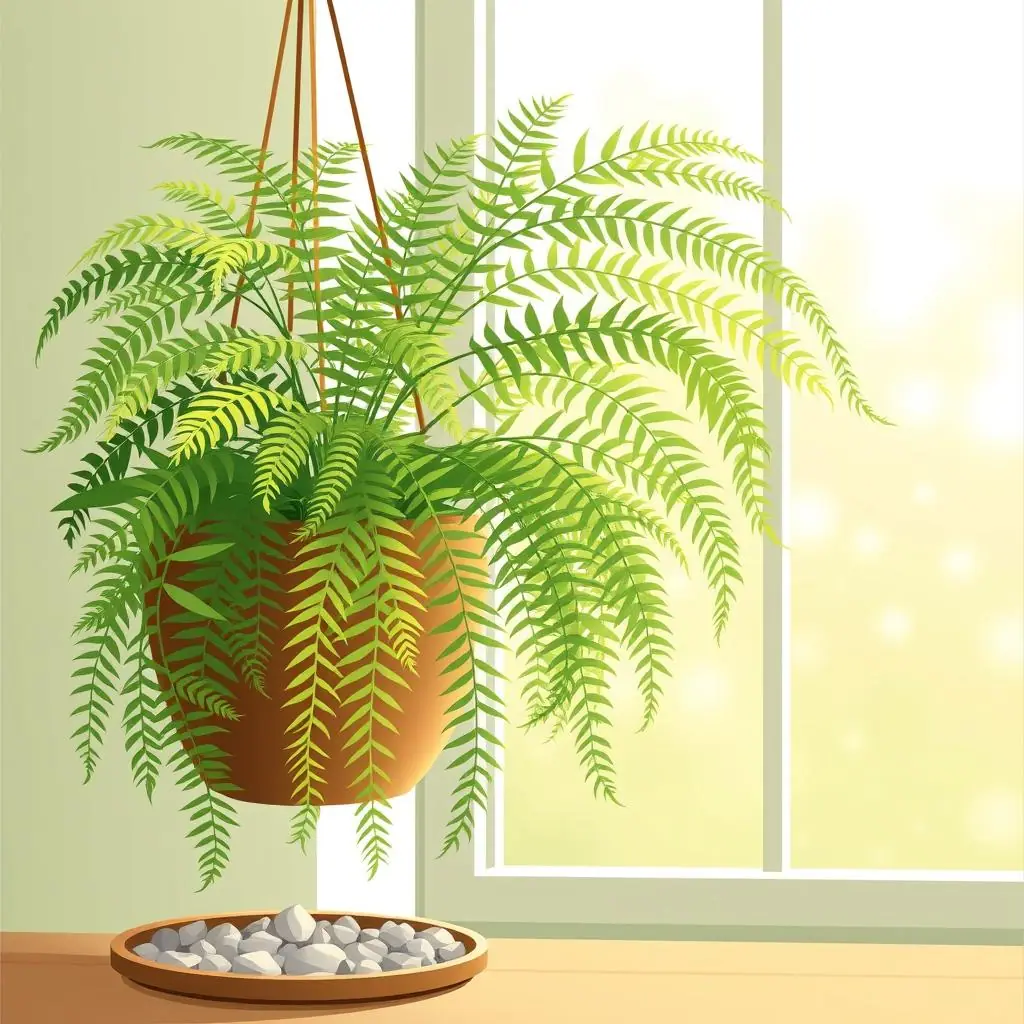
Attractive in several rooms
It can work on shelves, plant stands, entryways, bathrooms, or hanging baskets when light and drainage are right.
Clear visual signals
Frond tips, soil moisture, and rhizome growth give easy clues about whether the plant needs a small adjustment.
Can suffer in soggy pots
Standing water and dense soil can lead to root or rhizome trouble if the pot never drains properly.
Dry rooms may crisp the tips
Heated winter air or a vent nearby can dry the edges even when the watering routine seems reasonable.
A Simple Kangaroo Paw Fern Checklist
Use this checklist once a week, especially during the first month after bringing the fern home:
- Is the light bright but indirect? Move the fern away from harsh direct sun if edges look scorched.
- Is the top of the soil just starting to dry? Water then, not automatically on a fixed day.
- Does water leave the pot freely? Empty saucers and cachepots after watering.
- Are the rhizomes firm? Soft, dark, or mushy rhizomes suggest too much moisture.
- Are frond tips changing quickly? Fast browning deserves a check for dry air, heat, or missed watering.
- Is the plant easy to reach? A fern that is hard to water or inspect will be harder to keep healthy.
When to Get Extra Help
Ask a local garden center, extension office, or experienced plant friend for help if the fern develops mushy rhizomes, black spreading patches, sticky leaves, visible insects, or soil that smells unpleasant. Those signs deserve a closer look before you keep watering or fertilizing.
Do not make several fixes at once. If you repot, move the fern, prune, and fertilize all in one afternoon, it becomes hard to know what helped or what added stress. Choose the most likely issue first and keep the next step gentle.
Frequently Asked Questions
What should I check first for kangaroo paw fern care?
Check light and soil moisture first. The fern usually wants bright indirect light and a potting mix that is moist but not waterlogged.
How often should I water a kangaroo paw fern?
Water when the soil surface begins to dry. In a warm, bright room this may happen sooner than in a cool, shaded room, so touch the soil before watering.
Should I bury the creeping rhizomes?
No. Keep rhizomes near the surface and avoid covering them with heavy soil. They are part of the plant's normal spreading habit.
Can I move the fern if it looks unhappy?
Yes, but move it gently and avoid repeated changes. Try a brighter indirect spot or a location away from heat and drafts, then watch for improvement.
Final Thoughts
Kangaroo paw fern care is mostly about balance. Give the plant gentle light, consistent moisture, free drainage, and enough room for its creeping rhizomes. Then let the fern show you how it is settling in.
Start with one small adjustment, not a full rescue mission. With patient observation, this friendly fern can become a steady green presence in an everyday home.