Fern offsets can feel like a happy surprise. You notice a small side plant, a new crown, or a little clump forming beside the main fern, and it is natural to wonder whether you now have a second plant waiting to be potted.
The gentle answer is: sometimes yes, but not always right away. Many ferns are best multiplied by division, but a small side growth needs enough roots and strength before it can live on its own. Separating too soon can stress both the parent plant and the new piece.
Think of the offset as a young helper still sharing the family kitchen. Before you ask it to move into its own home, you want to know whether it has enough roots, fronds, and stored strength to settle in without constant rescue.
Why Fern Offsets Need a Calm First Look
Fern offsets need a calm first look because not every small side plant is ready to separate. Some are true side crowns with their own roots. Others are simply part of the same crowded clump. If you cut before you understand the connection, the plant may recover slowly or lose fronds.
The Iowa State University Extension guide to houseplant division and offsets recommends making sure each separated piece has healthy leaves, stems, and roots, then replanting it in fresh potting soil and bright indirect light. That simple checklist is a good starting point for indoor ferns too.
Start With Propagation and Repotting Basics
Propagation and repotting work best when the fern is already reasonably healthy. A plant that is badly wilted, sitting in sour soil, or dropping fronds from stress is not a good candidate for dividing today. Help the parent plant recover first.
If you are new to this kind of work, FernLog’s guide to fern propagation by division for beginners gives a broader foundation before you focus on small offsets. Division and offset separation are closely related, but offsets require even more attention to the connection point.
Choose the right moment
The easiest time is usually when you were already planning to repot. The root ball is visible, the soil can be refreshed, and you are not disturbing the fern twice. Avoid separating offsets during a heat wave, after a recent dry-out, or immediately after bringing a new fern home.
Prepare small containers first
Have the new pot, fresh indoor potting mix, clean scissors or a clean knife, and water ready before you lift the fern. Offsets dry faster than large root balls, so it helps to move steadily instead of leaving small pieces exposed on the table.
What to Check Before Separating Fern Offsets
Before you separate fern offsets, look for evidence that the side growth is more than a loose frond. You are checking for independence, not just size.
- Several fronds: A stronger offset usually has more than one tiny leaf or frond emerging from the same base.
- A visible crown: Look for a small growing center where fronds gather, rather than one random stem.
- Roots attached: When the plant is out of the pot, the offset should have roots of its own or a rooted section you can keep intact.
- Firm tissue: Avoid separating pieces that feel mushy, blackened, dried out, or hollow.
- Parent strength: The main fern should have enough healthy growth left after the offset is removed.
If the side plant looks promising but you are nervous, read through how to divide a fern for the first time without fear and compare the plant in front of you with the signs described there. A little patience often gives the offset a better chance.
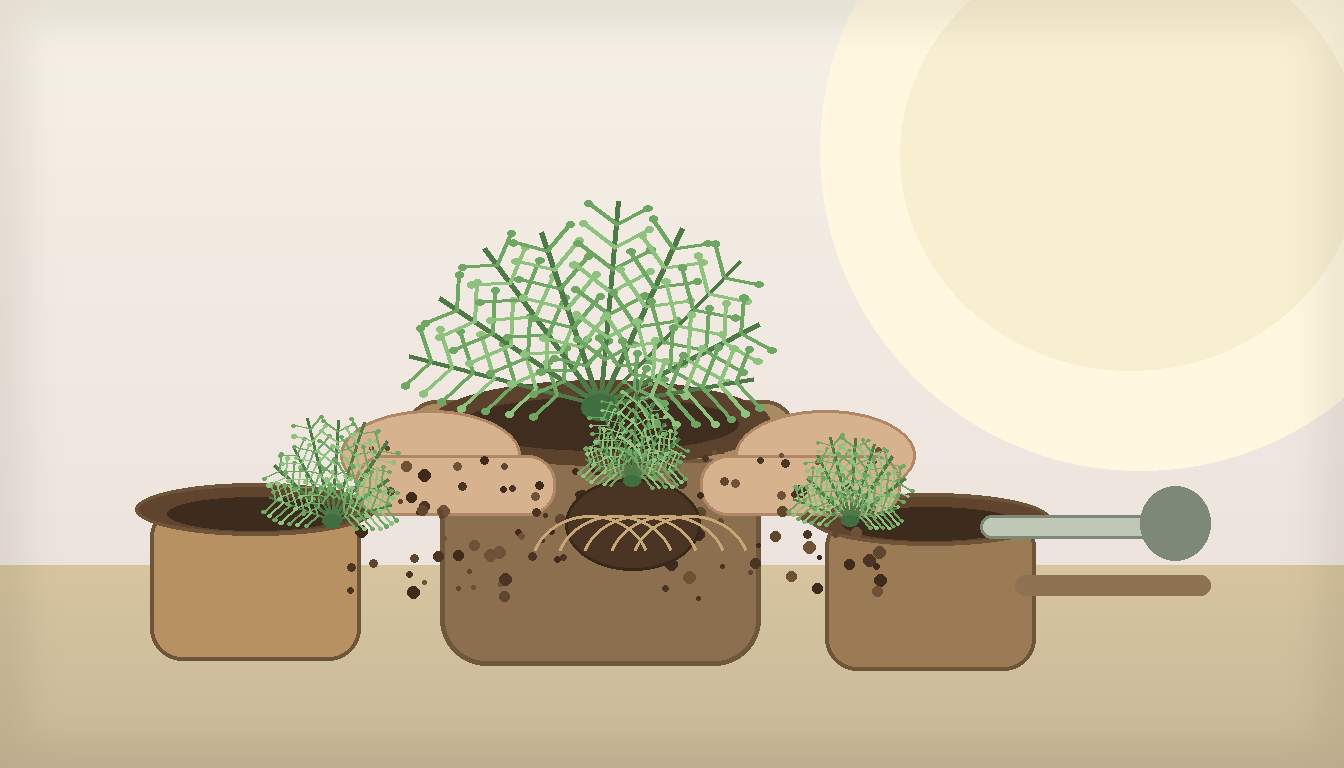
How to Separate Fern Offsets Step by Step
Use slow hands and simple steps. The goal is not a perfect-looking root ball. The goal is to keep enough living root and crown tissue with each piece.
- Water lightly the day before: Slightly moist soil is easier to handle than bone-dry soil, but avoid working with a soggy pot.
- Slide the fern from the container: Support the crown and root ball together. Do not pull the offset by its fronds.
- Loosen the outer soil: Use your fingers to clear just enough soil to see where the small side plant joins the main clump.
- Look for its own roots: If the offset has no roots or only a threadlike connection, leave it attached and try again at a later repotting.
- Separate by hand when possible: Gently tease roots apart. If they will not separate, use a clean knife to make one careful cut through the connecting root mass.
- Keep the piece generous: A slightly larger division with more roots usually recovers more easily than a tiny piece taken too neatly.
- Pot into a small container: Use fresh mix and a pot that fits the roots. Too much extra soil can stay wet around a small offset.
- Settle the soil with water: Water gently, let extra water drain, and place the new plant in bright indirect light while it adjusts.
After separation, expect a quiet period. The offset may not produce new growth immediately because it is busy repairing roots and finding balance in the new pot.
When to Leave a Small Side Plant Alone
Leaving a side plant alone is often the best care choice. A small fern does not need to be separated just because it is visible. In many cases, the fuller clump looks better and stays stronger when the pieces remain together.
Leave the offset attached if it has only one tiny frond, no clear roots, or a very tight connection you cannot see well. Also wait if the parent fern is recovering from root rot, severe dryness, pests, or a recent move.
Watch instead of acting
Mark the spot with a gentle mental note and check again in a month or two. If the side growth makes more fronds and the pot becomes crowded, separation may make more sense at the next repotting.
Do not chase every baby plant
Some ferns simply grow as layered clumps. Trying to turn every side shoot into a separate plant can leave you with several weak starts instead of one beautiful, full fern.
Pros and Cons of Separating Fern Offsets
Creates a new plant from one you already know
An offset from a healthy fern gives you a small start with familiar care needs and a known growing habit.
Can reduce crowding
Removing a strong side plant may give the parent fern more room when the pot has become packed.
Fits naturally with repotting
If you were already refreshing the pot, checking offsets adds only a small extra step to the same project.
Small pieces dry out faster
A tiny offset has fewer roots and less stored strength, so it may need steadier moisture while it settles.
Rushing can weaken both plants
If the offset is not rooted well, the new plant may fail and the parent can lose healthy tissue unnecessarily.
Common Propagation Mistakes to Avoid
The most common mistake is pulling the side plant by the leaves. Fern fronds are not handles. Always support the root area and crown instead.
The second mistake is using a pot that is much too large. A small offset in a big pot can sit in damp soil for too long. Choose a modest container with drainage holes and move up later if the plant grows well.
- Do not fertilize right away: Give the roots time to recover before feeding.
- Do not place the offset in hot direct sun: Bright indirect light is kinder while it adjusts.
- Do not bury the crown deeply: Keep the growing point near the soil surface, not packed under heavy mix.
- Do not keep the soil soggy: Aim for evenly moist, not swampy.
If your main concern is an older, crowded plant, repotting an old fern without losing its character can help you decide whether to divide, refresh, or simply give the plant a better container.
A Simple Fern Offset Checklist
Use this quick checklist before you make a cut.
- Clear crown: The side plant has its own growing center.
- Healthy roots: You can keep roots attached to the offset.
- Parent is stable: The main fern is not already struggling.
- Clean tool: Any knife or scissors have been cleaned before use.
- Small pot ready: The new container has drainage and fresh mix.
- Gentle aftercare: The new plant will rest in bright indirect light with steady moisture.
Frequently Asked Questions
What should I check first before separating fern offsets?
Check for roots. A small side plant with fronds but no roots is usually better left attached until it becomes stronger.
How often should I review a small side plant?
Look at it during your normal weekly plant check, then make a bigger decision at repotting time. There is no need to disturb the roots every week.
What should I do if I am not sure?
Wait, take a clear photo, and ask a local nursery or extension office for help. Guessing with a knife is rarely better than giving the offset more time.
Can I undo the separation later?
You cannot reattach a separated offset in the same way, but you can improve its care by adjusting light, pot size, and watering. That is why waiting until it has roots matters.
Final Thoughts
Fern offsets are encouraging, but they do not need to be rushed. A well-rooted side plant can become a healthy new fern, while a tiny unrooted shoot is often safer staying with the parent a little longer.
Start with observation, separate only when roots and strength are present, and keep the new pot small and calm. That patient approach gives both plants the best chance to keep growing beautifully.