Repotting old fern can feel more emotional than repotting a young plant. A mature fern may have a familiar lean, a favorite old pot, or a shape that has become part of the room. The goal is not to make it look brand new. The goal is to refresh the roots and soil while keeping the plant’s character intact.
Think of this job as changing a comfortable chair’s cushion, not replacing the chair. You want better support underneath while preserving the form you already enjoy. A careful plan helps you avoid cutting too much, upsizing too far, or disturbing the fern when it only needed a smaller refresh.
Why Repotting Old Fern Matters
An older fern can stay in the same container for a long time, but the potting mix slowly breaks down. Roots may circle the inside of the pot, water may run through too quickly, or the plant may dry out faster than it used to. Those signs are worth checking before the fern becomes stressed.
Repotting is also a chance to correct small problems without changing the whole plant. You can keep the same general size, preserve the old shape, and refresh only what the roots need. That is especially helpful when the fern has sentimental value or fits a specific corner of your home.
Start With Propagation and Repotting Basics
Before you lift the fern, decide what you are trying to solve. Are you giving crowded roots more room? Replacing tired soil? Fixing drainage? Keeping the plant the same size while refreshing the root ball? Each goal leads to a slightly different repotting choice.
Penn State Extension’s repotting houseplants guidance recommends checking whether roots are growing through drainage holes, whether the plant is pot-bound, and whether the new container is only slightly larger. That last point matters for old ferns because an oversized pot can hold more wet mix than the roots can use.
Choose a calm working day
Pick a day when you can work slowly and give the fern a quiet spot afterward. If the plant is already wilted, recently moved, or recovering from another problem, wait unless the roots are clearly in trouble. A calm fern usually handles repotting better than a fern already under stress.
If you are worried about shock after the move, FernLog’s guide to transplant shock in ferns is a useful companion. Read it before you start so the aftercare does not become a surprise.
What to Check Before Repotting an Old Fern
Start with observation. Water the fern lightly the day before if the mix is very dry, then check the pot, soil surface, drainage holes, and overall shape. You are looking for enough evidence to act, not a perfect diagnosis.
Look for true root crowding
Roots coming out of drainage holes, water rushing straight through the pot, or a root ball that lifts out in one dense shape can all suggest crowding. If you gently slide the plant partway out and see mostly roots in the lower third, the fern may be ready for fresh mix or a slightly larger container.
Notice whether the old shape is worth preserving
Some older ferns have a graceful unevenness. One side may arch lower, or the crown may sit a little off center. If that shape is healthy and pleasing, do not correct it aggressively. Mark the front of the pot with a small piece of tape before you begin so you can return the plant to the same orientation.
For readers deciding whether the plant truly needs a larger container, FernLog’s guide on when to repot ferns walks through the usual signs in more detail. Use that as a second check if you feel unsure.
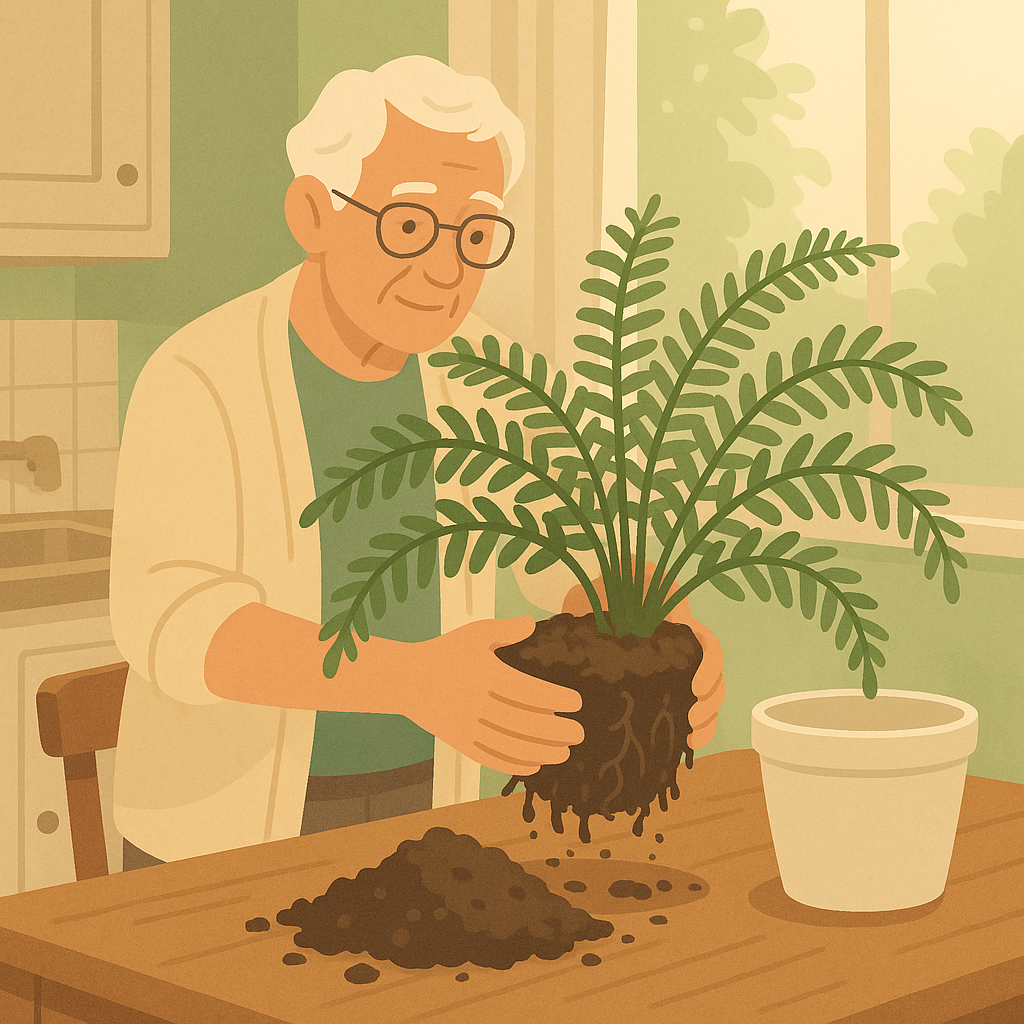
How to Handle Repotting an Old Fern Step by Step
Gather everything before you start: a clean pot, fresh indoor potting mix, scissors or pruners, newspaper or a tray, and water. Keep the new pot close in size. For many older ferns, one modest step up is better than a dramatic jump.
- Prepare the new pot: Make sure it has drainage holes. Add a little fresh mix to the bottom so the fern will sit at about the same soil depth as before.
- Lift the fern gently: Turn the pot on its side and support the crown and fronds with your hand. Tap the pot instead of pulling hard on the stems.
- Inspect the root ball: Trim only dead, mushy, or very tight circling roots. If healthy roots are dense, loosen the outer edge with your fingers rather than tearing the center apart.
- Preserve the familiar front: Place the fern in the new pot facing the same direction you marked earlier. This keeps the old visual character of the plant.
- Fill around the sides: Add fresh mix around the root ball and firm it gently. Do not pack it so tightly that water and air cannot move through.
- Water and drain: Water thoroughly, let excess water drain, and empty the saucer. Then return the fern to bright indirect light away from harsh sun or vents.
If the fern is too large and you want to keep it the same size, you may refresh the outer soil and trim a small amount of the outer root mass instead of moving to a larger pot. Work slowly and avoid removing a large amount of top growth and roots in the same session.
Common Repotting Mistakes to Avoid
The biggest mistake is treating an old fern like a project that needs to be perfected. Mature plants often look best with some age showing. The aim is steadier care, not a complete redesign.
- Choosing a pot that is too large: Extra wet mix can stay soggy around fern roots.
- Burying the crown too deeply: Keep the fern at the same general depth it grew before.
- Removing too much root at once: Light loosening is safer than heavy cutting unless the roots are damaged or severely bound.
- Fertilizing immediately: Let the fern settle first. Fresh mix and steady moisture are enough for the first recovery period.
- Moving the fern repeatedly afterward: Keep light and humidity stable while the roots adjust.
If you divide the plant during repotting, that becomes a different job. Review FernLog’s fern propagation division guide first, because division asks more from the fern than a simple soil refresh.
Pros and Cons of Refreshing a Mature Fern
Refreshes tired soil
Fresh mix can improve drainage, moisture balance, and root comfort without changing the whole plant.
Protects a sentimental plant
A careful repot lets you keep the fern’s familiar size, lean, and room presence while supporting healthier roots.
Reveals hidden root problems
Seeing the root ball helps you catch crowding, sour soil, or damaged roots before the fern declines further.
Can cause temporary drooping
Even careful repotting may leave an old fern looking tired for several days while the roots adjust.
Requires restraint
It is easy to over-trim, over-upsize, or reshape too much when the better choice is a modest refresh.
A Simple Checklist Before You Begin
Use this checklist before you spread out the newspaper and start lifting the plant. It helps keep the work calm and repeatable.
- Does the pot drain? If not, drainage is the first problem to solve.
- Are roots visible at the holes or soil surface? That may support repotting.
- Does water run through unusually fast? The root ball may be crowded or the mix may be tired.
- Do you want the fern larger or the same size? Decide before choosing the pot.
- Have you marked the front? A simple tape mark helps preserve the plant’s familiar character.
- Is the recovery spot ready? Bright indirect light, steady humidity, and no harsh vent nearby.
When to Get Extra Help
Ask for extra help if the root ball smells sour, many roots are black or mushy, the crown feels soft, or the fern has pests at the same time. Those problems may need diagnosis before ordinary repotting.
If the plant is a family keepsake, take photos before you begin: the front, the side view, the pot, and the root ball once lifted. A local extension office, reputable plant clinic, or experienced nursery can give better advice when they can see the evidence.
If your old fern makes runners, plantlets, or divisions while you are working, do not rush to remove them all. FernLog’s guide to plantlets and runners can help you decide whether they are worth keeping, sharing, or leaving in place.
Frequently Asked Questions
What should I check first before repotting an old fern?
Check drainage, soil condition, watering behavior, and the roots near the drainage holes. If those signs do not point to a problem, the fern may only need a small top refresh and steadier care.
How often should I review whether an old fern needs repotting?
Review it once or twice a year, especially in spring. You do not need to unpot it every time. Start with watering behavior, drainage, visible roots, and whether new growth still looks healthy.
What should I do if I am not sure about cutting roots?
Cut less than you think you need to. Remove only dead, mushy, or severely circling roots, then ask a trusted nursery or extension resource if the root ball looks confusing.
Can I undo a repotting choice later?
You can adjust watering, placement, and sometimes pot size later, but repeated repotting is stressful. Make one careful change, let the fern settle, and judge the newest growth before acting again.
Final Thoughts
Repotting old fern is really about respect. You are not erasing the years that made the plant beautiful. You are giving its roots fresh support so the familiar fronds can keep doing what you love.
Start with one clear reason to repot, choose a modest container, preserve the old front, and give the fern a quiet recovery window. That steady approach keeps both the plant’s health and its character in the room.