One of the most rewarding moments in indoor gardening is realizing you can make more plants from the ones you already love — completely for free. Fern propagation through division is the easiest, most beginner-friendly method available, and your fern will actually thank you for it.
Unlike growing from spores (which requires patience and a bit of science), division simply means gently separating an overgrown fern into two or more healthy sections. Each piece becomes its own plant, with its own roots and fronds ready to thrive.
What Is Fern Division?
Division is exactly what it sounds like: you take one mature fern and split it into smaller, independent plants. Each new section — called a division — has its own root system and crown (the spot where new leaves emerge). Given good care, every division will grow into a full, healthy fern within a few weeks to months.
This method works because ferns naturally grow in clumps. Over time, the center of an established plant may die back while the outer edges continue to grow vigorously. Division renews the plant's energy and creates free additions to your collection or heartfelt gifts for friends.
Why Division Works So Well
Ferns are clump-forming plants by nature. Unlike single-stem plants, they develop multiple growing crowns that can each sustain an independent plant. When you divide, you're not cutting a plant in half — you're separating what are essentially two plants that happen to share a pot. Each division already has everything it needs to survive on its own.
Which Ferns Can Be Divided?
Most common indoor fern varieties divide well, including Boston ferns, bird's nest ferns, and rabbit foot ferns. The key requirement is a mature plant — at least 2-3 years old — with a root ball large enough to split into sections each retaining healthy roots and fronds.
When Should You Divide a Fern?

Knowing when your fern is ready for division makes the whole process much smoother. These are the clearest signals that it's time:
- The pot feels crowded: Roots are circling the bottom or poking through drainage holes.
- The center is dying: The middle of the plant produces fewer or smaller fronds while the edges stay green.
- It's been 2-3 years: Mature ferns in the same pot naturally benefit from periodic division.
- You want more plants: The fern is healthy but you'd like to share it or fill another spot in your home.
- Repotting time: If you're repotting anyway, division adds little extra work.
Avoid dividing during fall or winter when ferns are resting. A stressed fern dividing during its slowest growth period takes much longer to recover — and the divisions may not establish well at all.
What You'll Need Before You Start
The beauty of division is that you don't need specialized tools. Most of what's required is already in your home or easily available at any garden center.
- Fresh potting mix: A well-draining blend with peat moss and perlite works perfectly for ferns.
- New pots with drainage holes: Each division needs its own pot, one size up from the root ball.
- A clean, sharp knife or scissors: For dense root balls that resist gentle hand separation.
- Old newspaper or a towel: To protect your workspace from loose soil.
- Watering can with a gentle spout: For post-repotting care.
If you have a knife, wipe the blade with rubbing alcohol before cutting roots. This simple step prevents bacteria from spreading between plant sections — just like washing hands before cooking.
Step-by-Step: Dividing Your Fern
Take your time with each step. There's no rush. A calm approach leads to healthier divisions and far less mess.
Preparation and Removal
Step 1 — Water one to two days before: A hydrated fern handles the stress of division much better. Dry roots become brittle and break during separation; moist roots stay flexible and intact.
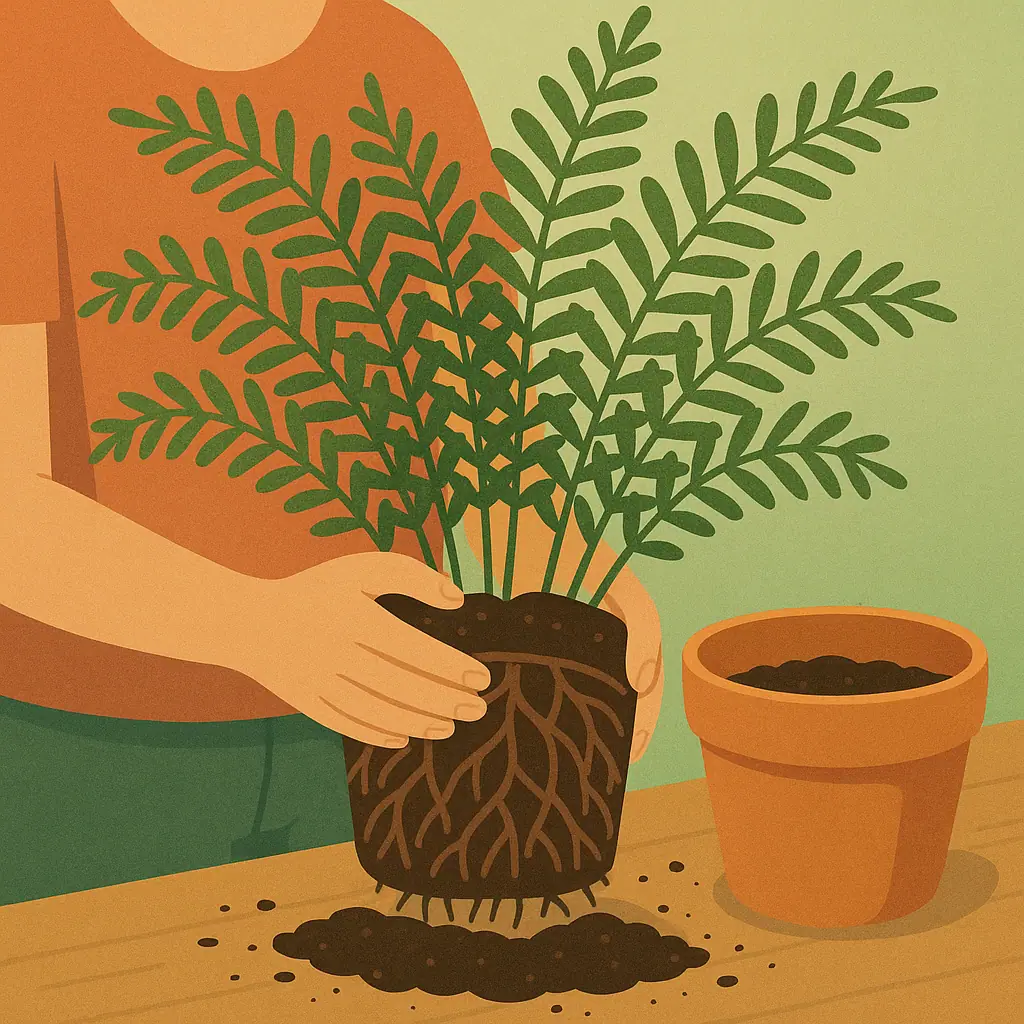
Step 2 — Remove the fern from its pot: Tip the pot sideways and gently ease the plant out. If it's stuck, run a clean butter knife around the inside edge of the pot. Never yank by the stems — pull from the base of the root ball.
Step 3 — Loosen the root ball: Set the fern on your newspaper and shake off some loose soil. You'll start to see the natural structure: clumps of roots, crowns at the top, and obvious separation points.
Separating and Repotting
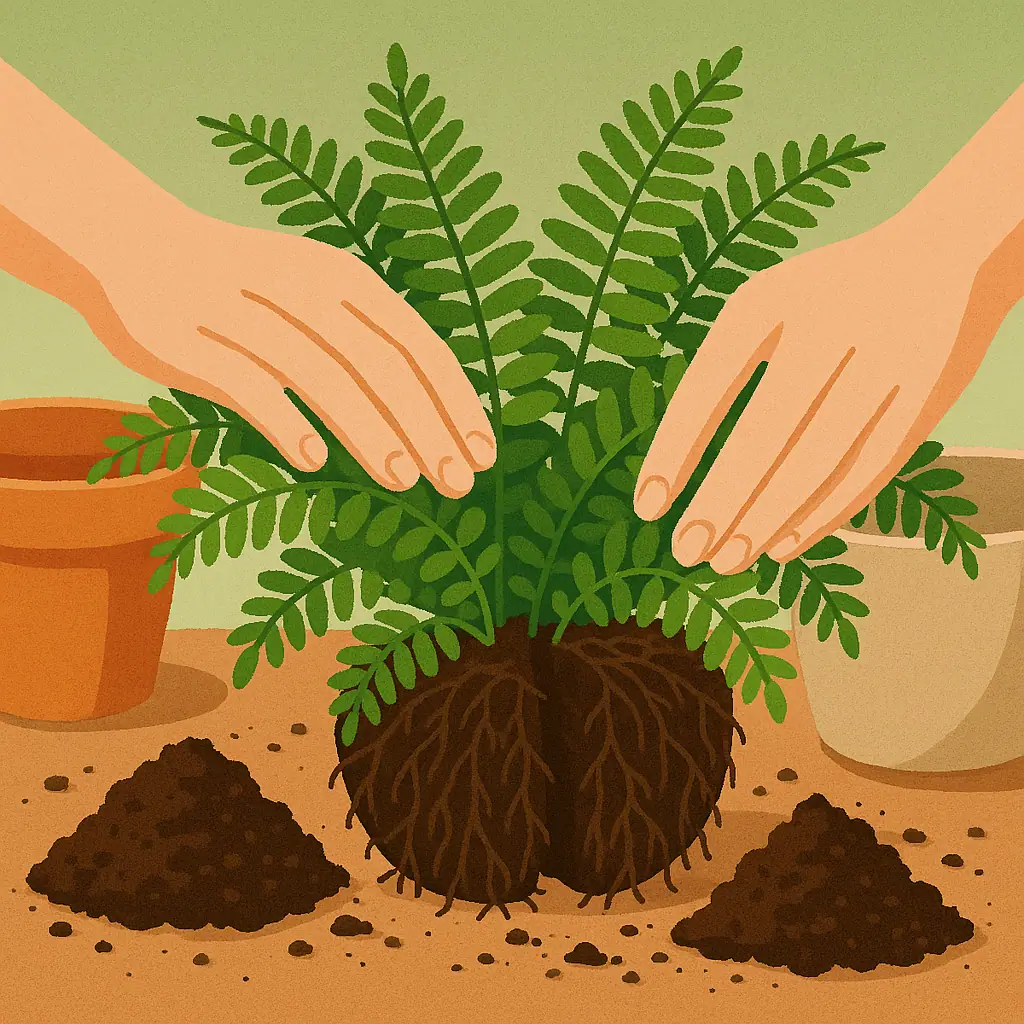
Step 4 — Find the natural divisions: Look for areas where the plant visibly separates into sections. Each division you create must have at least 3-5 healthy fronds and a substantial cluster of roots.
Step 5 — Separate gently: Start with your hands. Often, mature ferns pull apart quite naturally once you find the right point. If the root mass is very dense, use your clean knife — cut firmly but carefully, avoiding slicing through healthy crowns.
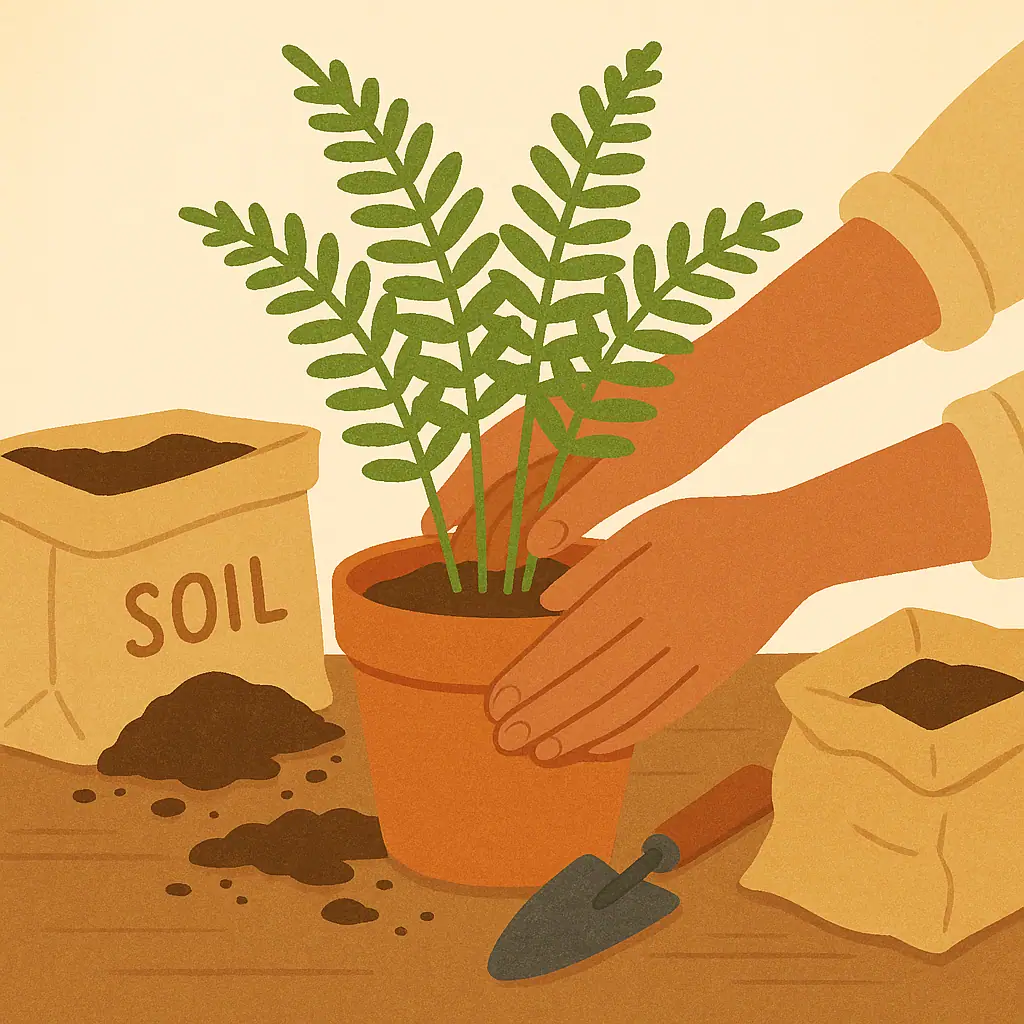
Step 6 — Pot each division: Fill a new pot halfway with fresh potting mix. Set a division in, spread the roots naturally, and fill in around it. The crown should sit just at or slightly above soil level — burying it too deep causes rot.
Step 7 — Water thoroughly: Water until it drains from the bottom holes. This settles the soil around the roots and removes air pockets. Then place your new divisions in bright, indirect light.
Pros and Cons of Division Propagation
Completely free new plants
Every division becomes a full plant at zero cost — perfect for gifting or expanding your indoor garden.
Quick establishment
Unlike spore propagation (which takes months), divided ferns begin growing within 2-4 weeks of potting.
Rejuvenates the parent plant
Division removes dead center growth and stimulates fresh, vigorous growth from the remaining sections.
Temporary wilting expected
New divisions often droop for 1-2 weeks while roots recover. This is normal — don't mistake it for failure.
Requires healthy parent plant
Division only works well when the original fern is mature and healthy. Sick ferns don't divide successfully.
Caring for New Fern Divisions
The first four weeks after division are the most important. Think of your new divisions the way you'd think of seedlings — they need consistent, gentle care while their root systems recover and expand into fresh soil.
- Keep soil consistently moist: Not soggy, but never completely dry. Check by pressing your finger into the soil — if the top inch is dry, it's time to water.
- Provide bright indirect light: Avoid direct sun for the first month. New divisions are more vulnerable to leaf scorch while establishing roots.
- Maintain humidity: Misting lightly or using a pebble tray with water helps the fronds stay hydrated while roots grow in.
- Hold off on fertilizer: Fresh potting mix has enough nutrients. Adding fertilizer too soon burns delicate new roots.
New fronds emerging from the crown are the surest sign your division has taken root successfully. Once you see that growth, your new fern is officially established — ready to begin its own story.
Frequently Asked Questions
How many divisions can I make from one fern?
It depends on the size of the parent plant. A large, mature Boston fern can yield 4-6 healthy divisions. Smaller ferns typically split into 2-3 sections. The key rule: every division must have its own healthy roots and at least 3-5 fronds to survive independently.
My new divisions are wilting — did I do something wrong?
Almost certainly not. Temporary wilting is completely normal after division, usually lasting 1-2 weeks. The plant's root system is recovering and not yet able to supply full water to all the fronds. Keep the soil moist and humidity high, and you'll see new fronds emerging within 2-4 weeks.
Can I divide a small or recently purchased fern?
It's best to wait until a fern is mature and well-established — typically 2-3 years old or when it's clearly outgrown its pot. Young, recently purchased ferns are still adjusting to their environment. Dividing them too early causes unnecessary stress and often leads to poor results.
What if I cut through roots accidentally?
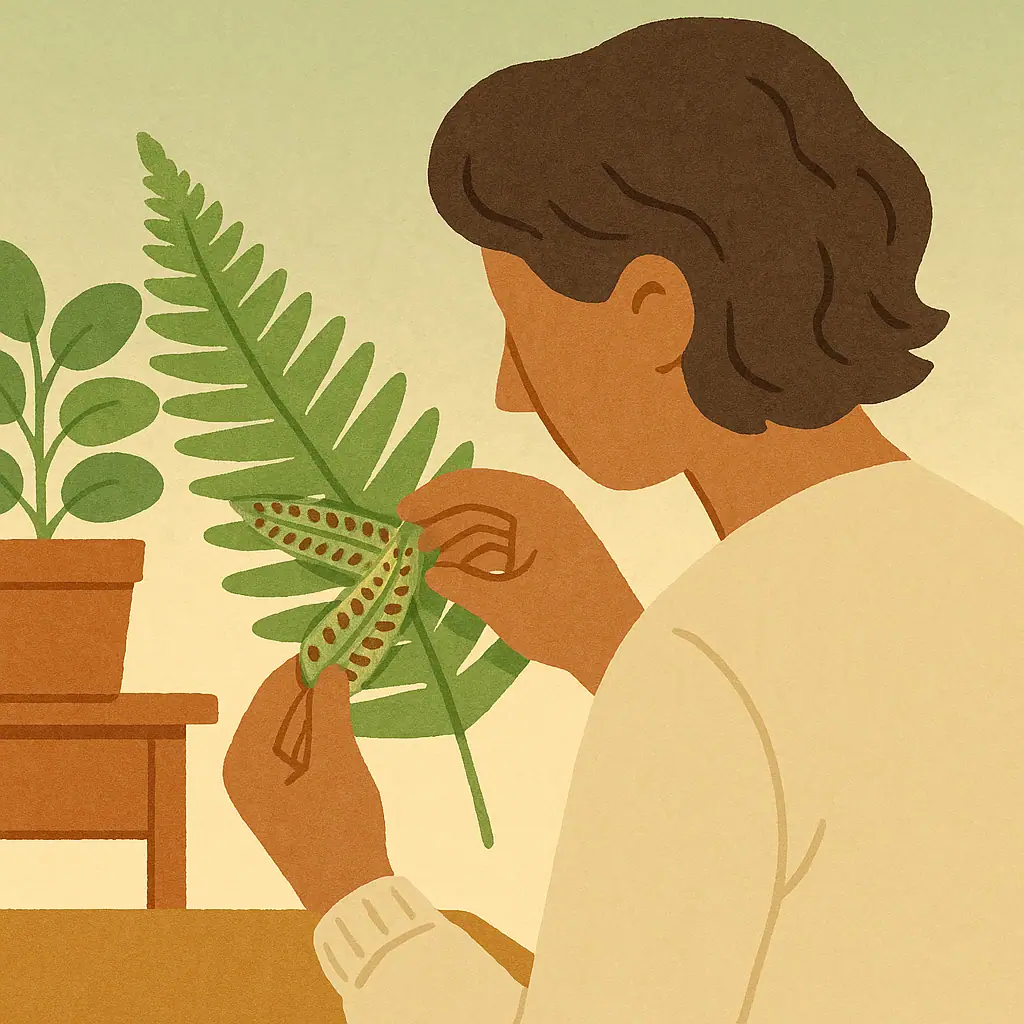
Some root damage is unavoidable and perfectly fine. Ferns are resilient plants. As long as each division retains a substantial cluster of roots and a healthy crown with fronds, it will recover. Remove any mushy or dead roots you find — these can harbor rot-causing bacteria.
Final Thoughts
Dividing a fern for the first time can feel a bit daunting — you're taking something you've carefully tended and splitting it apart. But it's one of the most satisfying things you can do in indoor gardening. You're not harming the plant; you're giving it a fresh start and creating something new in the process.
Go slowly, trust what you see, and remember: plants are more resilient than we give them credit for. By spring, those nervous divisions will be lush, full ferns — proof that a little courage in the garden goes a long way.