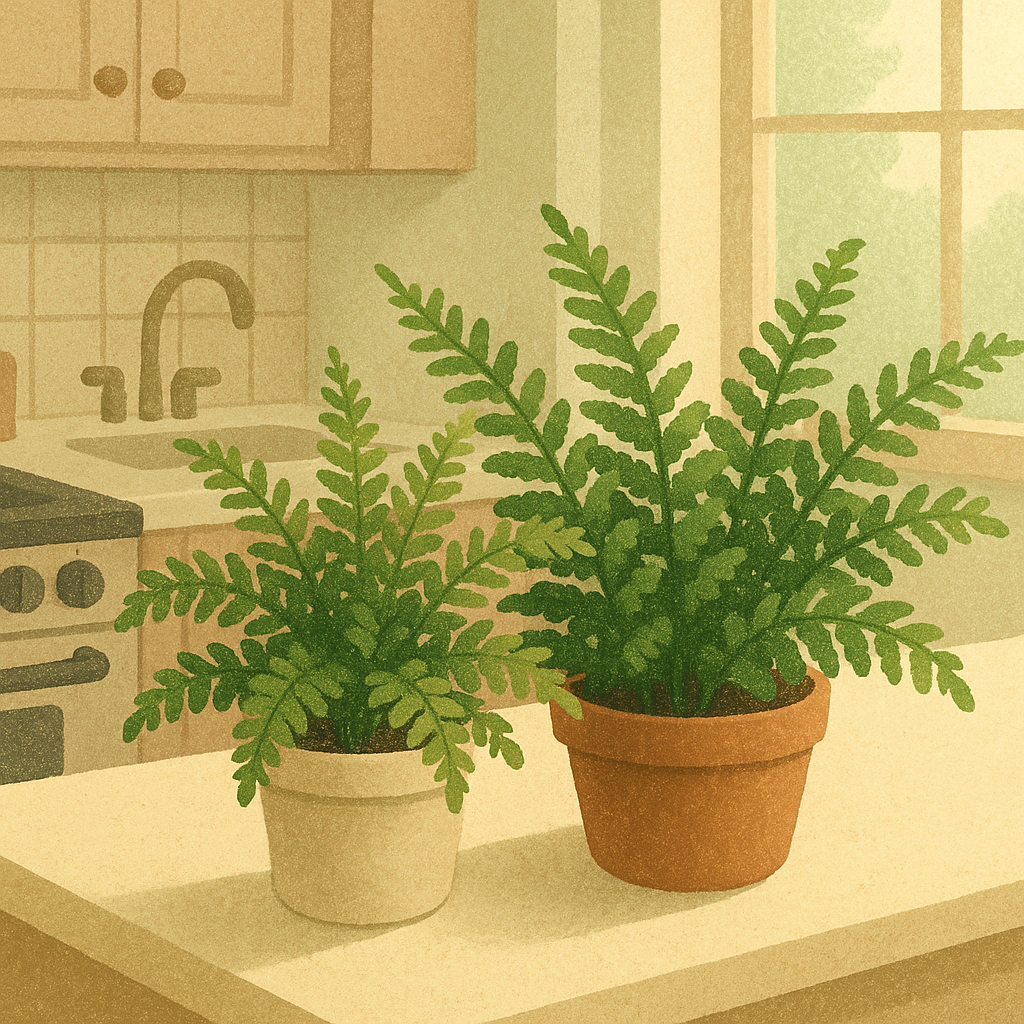
Kitchen ferns can make a room feel softer, greener, and more lived-in. A fern near the sink or breakfast table adds the feeling of a tiny indoor garden without asking for a large plant corner. But kitchens are also busy rooms, with heat, grease, dry drafts, and sudden temperature changes.
The secret is not simply asking, “Can a fern live in a kitchen?” A better question is, “Which part of this kitchen feels gentle enough for a fern?” Some kitchen spots offer bright indirect light and a little extra humidity. Others are too hot, too dark, or too close to daily mess.
This guide will help you choose kitchen ferns thoughtfully, place them safely, and notice when a spot is working or quietly causing stress.
Why Kitchen Ferns Can Work So Well
Kitchen ferns often work because kitchens can provide two things many indoor ferns appreciate: regular observation and a bit more moisture in the air. When you pass the plant several times a day, it is easier to notice dry soil, drooping fronds, or crispy edges before the problem becomes serious.
The University of New Hampshire Extension notes that many houseplant ferns are adapted to relatively high humidity and low light, and it specifically mentions humid rooms such as a bathroom or kitchen as useful spots for some ferns. Their indoor fern guidance is a helpful reminder that species choice and placement matter more than treating all ferns the same.
Start With Indoor Garden Design, Not Just Plant Care
Before choosing a fern, look at the kitchen as a small indoor garden design puzzle. You are balancing beauty, safety, and easy care. A fern that looks lovely in a photo may struggle if it sits beside a toaster oven, directly above a hot dishwasher vent, or under a cabinet with almost no light.
Start by walking through the room at different times of day. Notice where sunlight lands, where warm air rises, where people brush past, and where water tends to splash. A good fern spot should feel calm even when the kitchen is being used.
Best kitchen zones for ferns
The best zones are usually a bright counter several feet from a window, a plant shelf near indirect light, or a hanging spot away from cooking steam and heat. If the kitchen has a north- or east-facing window, that gentle light may suit many ferns better than a harsh western window.
If you enjoy arranging plants by height and texture, our guide to fern display ideas for indoor arrangements can help you think beyond simply setting one pot on the nearest counter. In a kitchen, good design also means leaving room to cook, clean, and move comfortably.
Kitchen zones that often cause trouble
Avoid the top of the refrigerator if it is warm, the back of the stove, sunny windowsills that get hot at midday, and corners where cabinet doors repeatedly hit the fronds. Also be careful with spots beside exterior doors, especially in winter, because a cold draft can stress tender foliage quickly.
What to Check First Before Placing Kitchen Ferns
Kitchen ferns do best when the basics are checked before the plant is moved in. Think of this as setting the table before dinner. A few minutes of preparation prevents a lot of fuss later.
- Light: Choose bright indirect light rather than direct afternoon sun on the fronds.
- Heat: Keep the fern away from ovens, stovetops, toaster ovens, and hot appliance vents.
- Grease: Do not place delicate fronds where cooking oil can settle on them.
- Water access: Make watering easy, but do not let the pot sit in standing water.
- Traffic: Keep fronds away from elbows, cabinet doors, and narrow walkways.
- Airflow: Choose a spot with gentle air movement, not a strong heating or cooling draft.
When you are grouping more than one plant, compare their needs before placing them together. Our article on mixing ferns with other plants explains why similar light and moisture needs make plant groupings easier to maintain.
How to Handle Kitchen Ferns Step by Step
Once you have a likely spot, treat the first two weeks as a trial period. You are not making a permanent decision. You are watching how the fern responds to the room.
Step 1: Choose a forgiving fern
For many beginners, bird’s nest fern, rabbit’s foot fern, blue star fern, and some Boston ferns can be reasonable kitchen candidates when the light and moisture are right. Very delicate ferns may still struggle if the kitchen air gets dry or the routine is inconsistent.
Step 2: Set the pot where cleanup is simple
Use a saucer or cachepot that protects counters from drips, but empty extra water after watering. A fern wants moisture around the roots, not a swamp at the bottom of the pot. If the counter is valuable wood or stone, add a waterproof tray underneath.
Step 3: Watch the fronds for one week
Healthy kitchen ferns should look relaxed, with fronds holding their shape and color. If edges crisp quickly, the spot may be too dry, too hot, or too bright. If soil stays wet for days, the pot may be too large, the drainage may be poor, or the location may be too dim.
Step 4: Adjust one thing at a time
Move the fern a little farther from the window, add a pebble tray, or improve drainage, but do not change everything at once. Small changes make it easier to see what helped.
Where Kitchen Ferns Struggle Most
The hardest kitchen locations are usually the ones that look attractive but behave harshly. A sunny sill above the sink may photograph beautifully, but if the glass gets hot or cold, fronds can suffer. A shelf near the stove may seem convenient, but grease film can coat delicate leaflets.
Ferns also struggle when a kitchen is dark all day. Humidity alone does not replace light. If the only open spot is far from a window, consider a different room or a simple grow light placed safely away from water and heat.
Another common mistake is moving the fern every few days because it does not look perfect immediately. Kitchen conditions change from breakfast to dinner, and a fern needs time to settle. Observe first, then adjust gently.
A Simple Kitchen Fern Checklist
Use this checklist before you commit to a kitchen spot. It keeps the decision practical and prevents the fern from becoming one more chore in a busy room.
- Can I see the fern clearly? Good visibility makes care easier and helps you catch early stress signs.
- Is it at least a few feet from cooking heat? More distance is better than hoping the plant will tolerate hot bursts.
- Will grease reach the fronds? If yes, move it farther away or choose a smoother-leaved plant.
- Does the pot drain well? Every kitchen fern still needs drainage, even in a humid room.
- Can I water without lifting awkwardly? Easy access matters, especially for hanging plants or high shelves.
Pros and Cons of Kitchen Ferns
Easy to notice daily
A kitchen fern is usually seen often, so small care signals are less likely to be missed.
Potentially helpful humidity
Some kitchens offer slightly moister air than dry living rooms, especially near sinks and dishwashing areas.
Warm, welcoming design
Soft fern foliage can make practical kitchen surfaces feel calmer and more natural.
Heat and grease risk
Cooking areas can damage fronds or leave residue that makes delicate foliage look dull.
Limited safe counter space
Small kitchens may not have a spot that is bright, protected, and out of the way.
Frequently Asked Questions
What should I check first before putting a fern in the kitchen?
Check light and heat first. A bright indirect spot away from the stove, oven, vents, and harsh window glass is safer than a pretty but stressful location.
Are kitchens humid enough for ferns?
Sometimes, but not always. A kitchen may be a little more humid during dishwashing or cooking, but the fern still needs steady watering, drainage, and suitable light.
Can I put a fern near the stove?
It is better not to. Heat bursts, dry air, and grease can stress the plant. Place kitchen ferns several feet away from cooking surfaces whenever possible.
What should I do if my kitchen fern starts browning?
Move slowly. Check whether the spot is too hot, too sunny, too dry, or too close to drafts. Adjust one condition at a time and remove only fully dead fronds.
Final Thoughts
Kitchen ferns can be charming, practical plants when the location is chosen with care. They work best in bright indirect light, away from heat and grease, with a pot that drains well and a routine you can repeat easily.
Start with one fern in one protected spot. Watch it for two weeks, make small adjustments, and let the plant show you whether the kitchen is helping or making life harder. A calm placement decision is often the difference between a fern that quietly thrives and one that struggles in a pretty but difficult corner.