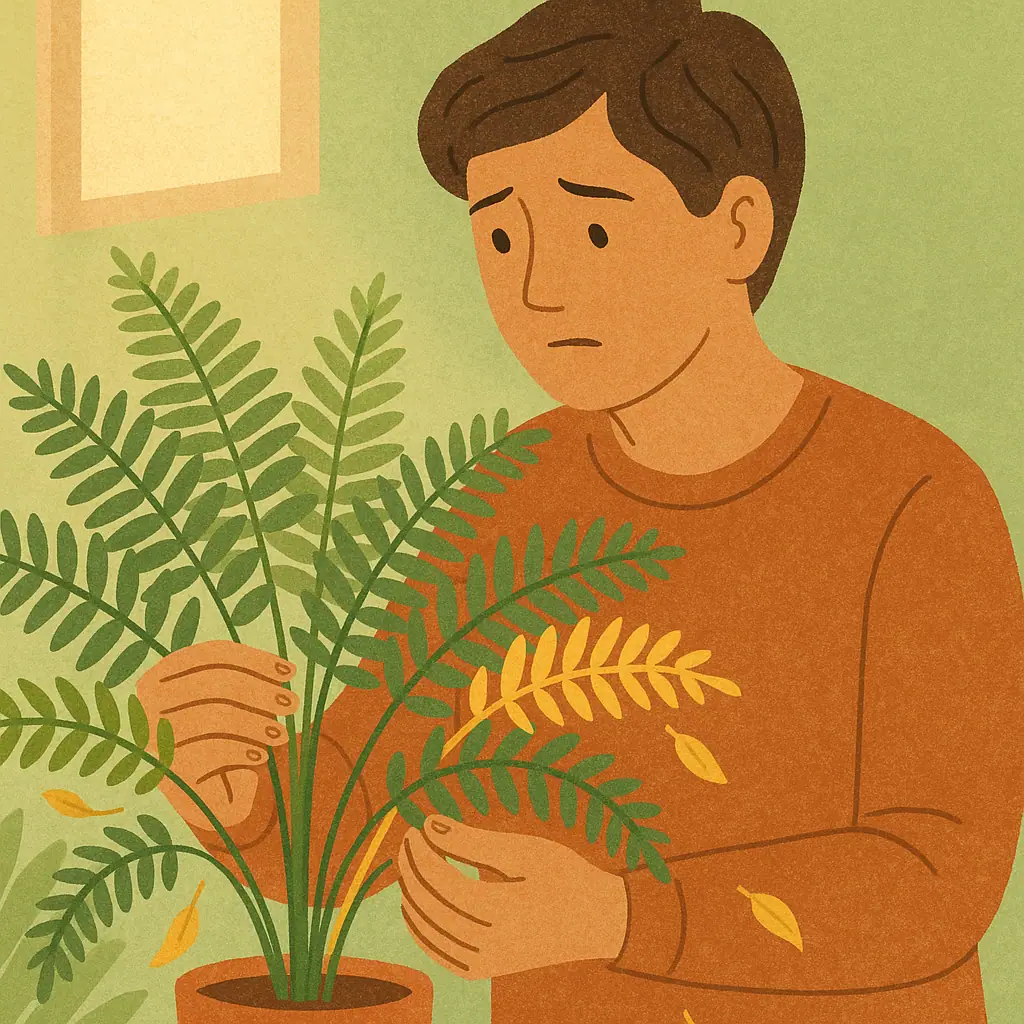
There's a particular kind of gardener's grief that comes with watching a beloved fern go from lush and vibrant to brown and limp. Maybe it happened gradually over weeks, or maybe it seemed to collapse almost overnight. Either way, the question is the same: is it too late?
More often than not, the answer is no. Ferns are remarkably resilient plants. Even one that looks nearly dead may be quietly waiting for the right conditions to spring back. This guide walks you through a structured, step-by-step recovery process — one that has worked for countless plants that seemed past hope.
Step 1: Determine If Your Fern Is Still Alive
Before you do anything else, you need to know whether recovery is possible. Don't judge by the fronds — even ferns with completely brown foliage can have a living crown and roots. The assessment takes about five minutes.
- Check the crown: Gently press the base where fronds emerge. If it feels firm and shows any green coloration, life remains. Soft, mushy, or completely blackened crown means serious trouble.
- Inspect the roots: Remove the fern from its pot and look at the roots. Healthy roots are pale (white to tan) and firm. Dark brown or black roots that feel mushy indicate root rot. Dry, brittle, thread-like roots suggest severe underwatering.
- Look for new fiddleheads: Even tiny, tightly coiled new growth at the crown is a strong positive sign — the plant is actively trying to recover.
- The scratch test: Lightly scratch the crown stem with a fingernail. If you see any green tissue underneath, there's still life inside.
If the crown is firm and the roots have even a small portion that is pale and firm, continue with recovery. If everything — crown, roots, rhizomes — is uniformly black, mushy, or completely dried out, the fern may be beyond saving.
Step 2: Diagnose the Root Cause

Reviving a fern without understanding why it declined is like treating a symptom without addressing the disease — the problem will return. The most common causes of fern decline each produce distinct patterns.
Overwatering and Root Rot
This is the most common killer. Signs include yellowed, limp fronds, a sour smell from the soil, and dark mushy roots when you inspect the root ball. The soil may look wet even days after the last watering. Recovery requires removing all affected roots and repotting in fresh, well-draining mix.
Underwatering and Dry Air
Ferns that have dried out dramatically will have crispy, brown fronds that crumble when touched. The soil will be bone dry, pulling away from the pot edges. The root ball may feel light and almost dusty. These ferns need rehydration before anything else.
Environmental Shock
Moving a fern from a humid greenhouse to a dry home, placing it near a heating vent, or exposing it to a cold draft can cause rapid decline. The plant looks fine one day and collapses within a week. If the roots and crown are still healthy, simply correcting the environment often produces recovery without further intervention.
Step 3: Prune All Dead and Damaged Fronds
Start the physical rescue by removing every brown, crispy, or mushy frond — even if that means removing most of the plant. This concentrates the fern's energy on recovery rather than supporting dying tissue. Use clean scissors sterilized with rubbing alcohol. Cut each frond at its base, as close to the crown as possible without damaging it.
If some fronds are partially brown but still partly green, make a judgment call: if more than half the frond is dead, remove it. If most of it is still green with brown tips only, leave it — it can still contribute to photosynthesis during recovery.
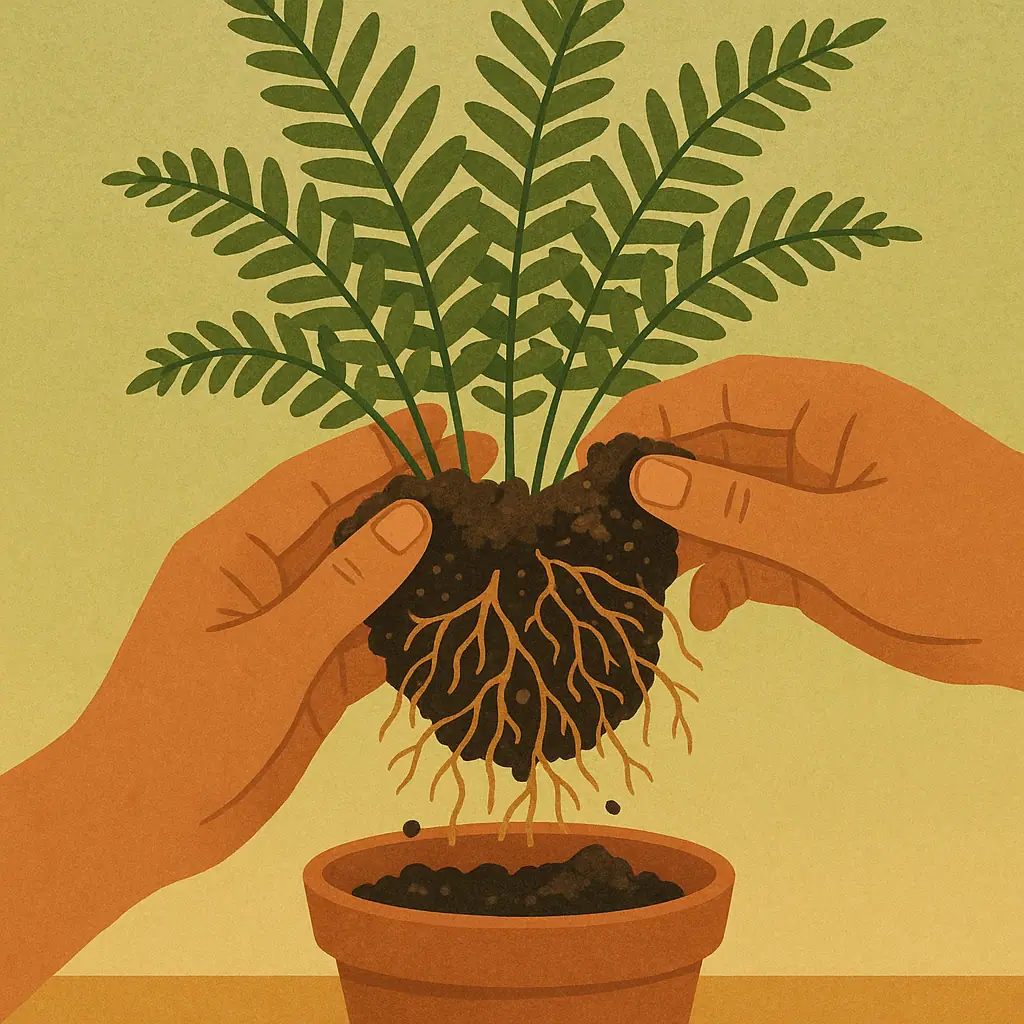
Step 4: Address the Root System
Remove the fern from its pot entirely. Gently shake off as much old soil as possible. Now examine every root carefully, cutting away anything that is dark, mushy, or clearly dead. A clean pair of scissors or small pruning shears works well. Your goal is to leave only pale, firm, living roots even if that means removing a large portion of the root ball.
For underwatered ferns with dry, brittle roots: place the bare root ball in a bowl of room-temperature water for 20-30 minutes. This gentle soak rehydrates the roots without shocking the plant. Let it drain fully before repotting.
Step 5: Repot in Fresh Soil
Never put a recovering fern back into its old soil — even if it looks fine, it may harbor the conditions that caused the decline. Use a fresh, well-draining potting mix appropriate for ferns: one part peat moss or coco coir, one part perlite, and one part regular potting mix works well for most varieties.
Choose a pot only slightly larger than the remaining root ball — ferns in oversized pots are more prone to overwatering. Ensure excellent drainage holes. Settle the fern into the pot with the crown at soil level, never buried deeper than it was before.
Pros and Cons of Fern Recovery Approaches
Complete root inspection and pruning
Removing all dead and rotten roots gives the plant its best chance — healthy roots can regenerate from even a small healthy base.
Boosting humidity during recovery
Placing a plastic bag loosely over the plant creates a mini greenhouse effect, reducing moisture loss while roots reestablish.
Patience over interventions
Most recovery happens underground — waiting 4-6 weeks without over-correcting gives the plant time to reestablish at its own pace.
Fertilizing during recovery
Fertilizer stresses already-weakened roots — wait until new, healthy fronds appear before introducing any nutrients.
Overwatering "to help"
Extra water does not speed recovery and often compounds root rot problems — maintain only consistent, moderate moisture.
Step 6: Create Optimal Recovery Conditions
Once repotted, place the fern in a location with bright, indirect light — no direct sun. Maintain temperature between 65-72°F (18-22°C) and keep it away from vents and cold drafts. Focus your energy on humidity: aim for 50-70% if possible.
A simple and effective trick: place a clear plastic bag loosely over the plant and pot, creating a miniature greenhouse. This raises humidity around the plant dramatically without needing a humidifier. Check daily and remove the bag for 30-60 minutes to prevent fungal issues. Continue this for 2-3 weeks until new growth appears.
Water only when the top inch of soil feels slightly dry — feel it with your finger, don't guess by schedule. Empty the saucer after watering; never let the pot sit in water.
Frequently Asked Questions
How long does it take for a fern to show recovery signs?
Most ferns that are going to recover show new fiddlehead growth within 3-6 weeks of proper care. During this time, the plant may look unchanged or even continue to lose the remaining damaged fronds — this is normal. New growth from the crown is the sign you're waiting for.
Can I cut a fern back to just the crown to save it?
Yes — if all the fronds are dead or dying, removing them completely and focusing on keeping the crown alive is a valid strategy. Some ferns regrow from bare crowns when given the right conditions. It looks dramatic, but a bare crown is much better than a pot full of decaying fronds.
Should I use fertilizer to help my fern recover?
Not immediately. Fertilizer can burn stressed, weakened roots and makes recovery harder. Wait until the plant produces at least 2-3 new healthy fronds before introducing any nutrients, then use a diluted, balanced fertilizer at half the recommended strength.
How do I know when to give up on a fern?
If after 6-8 weeks of consistent proper care there is no new growth and the crown has become mushy or dried out completely, the fern has likely not survived. Give it the full recovery window before deciding — ferns can be deceivingly slow to show improvement.
Final Thoughts
Reviving a dying fern is one of the most satisfying experiences in indoor gardening. The process teaches patience and careful observation — two skills that will serve every plant in your home. Follow the steps methodically: assess, diagnose, prune, repot, and then step back and let the plant do its work.
Most importantly: don't give up too soon. Ferns have been growing on this earth for over 350 million years. They know how to survive.