There's something genuinely magical about growing a fern from its spores. You're participating in one of nature's oldest reproductive cycles — ferns have reproduced this way for over 350 million years, long before flowering plants existed. While division is the easiest way to propagate ferns, growing from spores opens up a fascinating world of plant biology that any curious gardener can explore.
This method takes patience. From spore to potted fern, expect anywhere from three to six months. But the process is deeply satisfying, and you'll end up with dozens of new plants from a single frond. Here's how to do it at home.
Understanding Fern Spores
Spores are tiny reproductive structures found on the underside of fertile fern fronds. Look for small brown dots or clusters — these are called sori, and inside each one are thousands of microscopic spores. When spores are ripe, the sori turn a rich brown color and may look almost dusty.
Not every frond produces spores, and not every fern species is easy to grow this way. Boston ferns and bird's nest ferns can be grown from spores, but the process works especially well with species like Asplenium, Dryopteris, and many woodland ferns that produce abundant, easy-to-collect spores.
Collecting and Preparing Spores
Harvesting spores is a simple process that takes just a few minutes. Cut a healthy, spore-bearing frond from your fern and lay it spore-side down on a clean sheet of white paper. Fold the paper loosely over the frond and set it in a dry, draft-free spot for a few days. As the frond dries, the spores will release and fall onto the paper in a fine dusty layer.
Once the frond has fully dried and shriveled, gently unfold the paper. You'll see a mixture of brown spores and some debris. Tilt the paper slightly — the lighter chaff will shift, leaving the finer spores concentrated at the bottom. Transfer your spores to a small envelope or folded paper and label it with the date and species if you know it.
Spores stay viable for several months when stored in a cool, dry place. However, fresher spores germinate more reliably, so it's best to sow them within a few weeks of collection.
Setting Up Your Germination Container
Sterilization is the most critical step in this entire process. Unwanted mold, fungi, and moss will outcompete your delicate fern spores if the growing medium or containers aren't properly sterilized.
Choose a clear plastic container with a tight-fitting lid — the kind used for bakery items or deli food works perfectly. The clarity lets in light, and the lid maintains the high humidity that spores need to germinate. Wash the container thoroughly and rinse it with a diluted bleach solution (one part bleach to ten parts water).
For growing medium, use a fine-textured seed-starting mix or a blend of peat moss, vermiculite, and perlite. Moisten the mix until it's damp but not dripping, then sterilize it by microwaving on high for 3–4 minutes or pouring boiling water through it. Let the medium cool completely before sowing — heat kills spores just as effectively as pathogens.
Fill your container with about one inch of cooled, sterile growing medium. Firm the surface gently with the back of a spoon to create an even, compact base for your spores.
Sowing Spores and Creating Ideal Conditions
Once spores are sown, immediately cover the container with its lid or seal it with plastic wrap. Place it in a bright location with indirect light — an east-facing window or under fluorescent grow lights for 14–16 hours a day works well. Avoid direct sunlight, which can overheat the container and kill developing spores.
Maintain a consistent temperature of 65–75°F (18–24°C). The sealed container will hold humidity, but check every few days to make sure the surface stays barely moist. If needed, use a spray bottle with clean, room-temperature water to lightly mist the surface. Never add water directly — it can disturb the spores or create puddles that drown developing gametophytes.
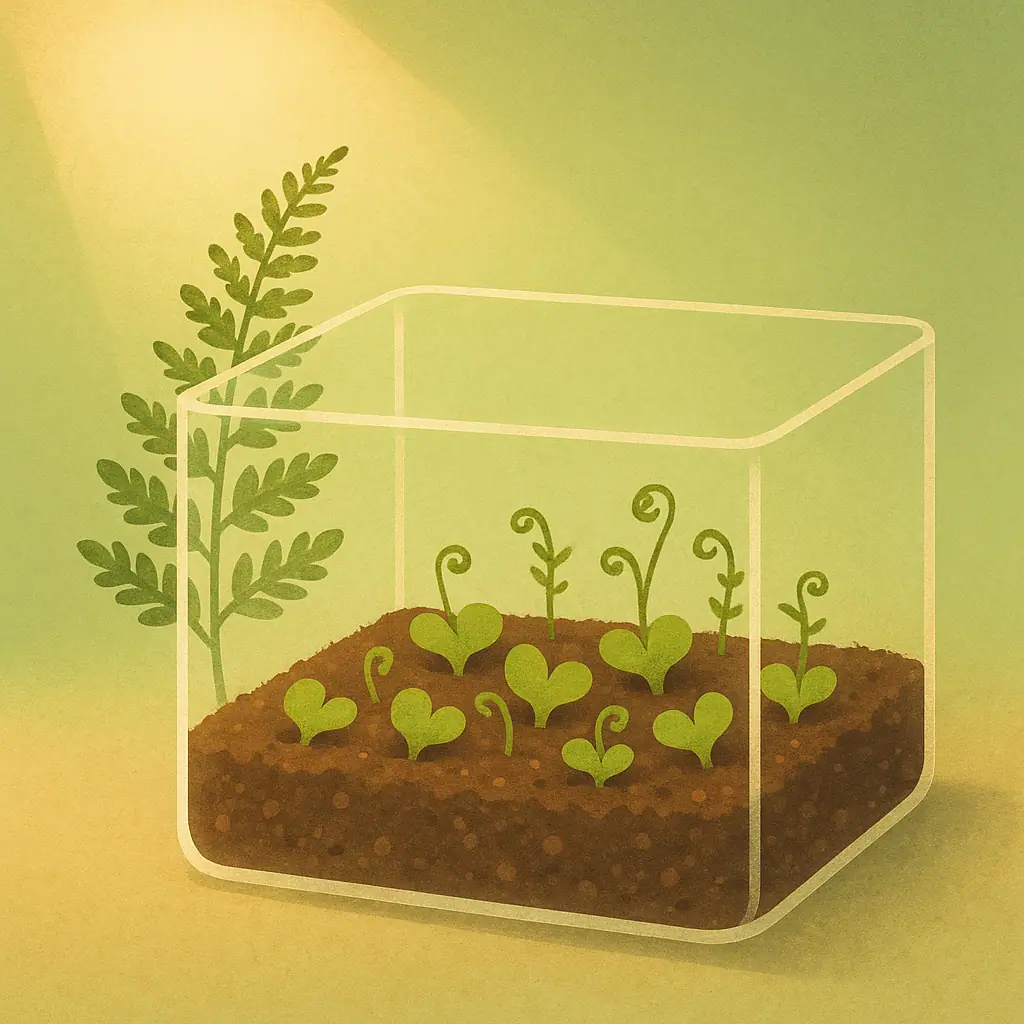
From Green Fuzz to Baby Ferns
Within two to six weeks, you should see a thin green film developing on the soil surface. This moss-like growth is not moss — it's the gametophyte stage of the fern, called prothalli. These tiny heart-shaped structures are the sexual generation of the fern life cycle, and they're doing invisible but essential work: producing eggs and sperm that will fertilize to create the recognizable fern plant you're aiming for.
Fertilization requires a thin film of water on the surface of the prothalli. When they look healthy and are about the size of a fingernail, lightly mist the inside of the container lid so droplets fall gently onto the prothalli. This thin layer of water allows the sperm to swim to and fertilize the eggs.
Over the following weeks, you'll see tiny true fern fronds emerging from the prothalli. These sporophytes — the actual fern plants — start as barely-visible specks but gradually develop into recognizable miniature ferns.
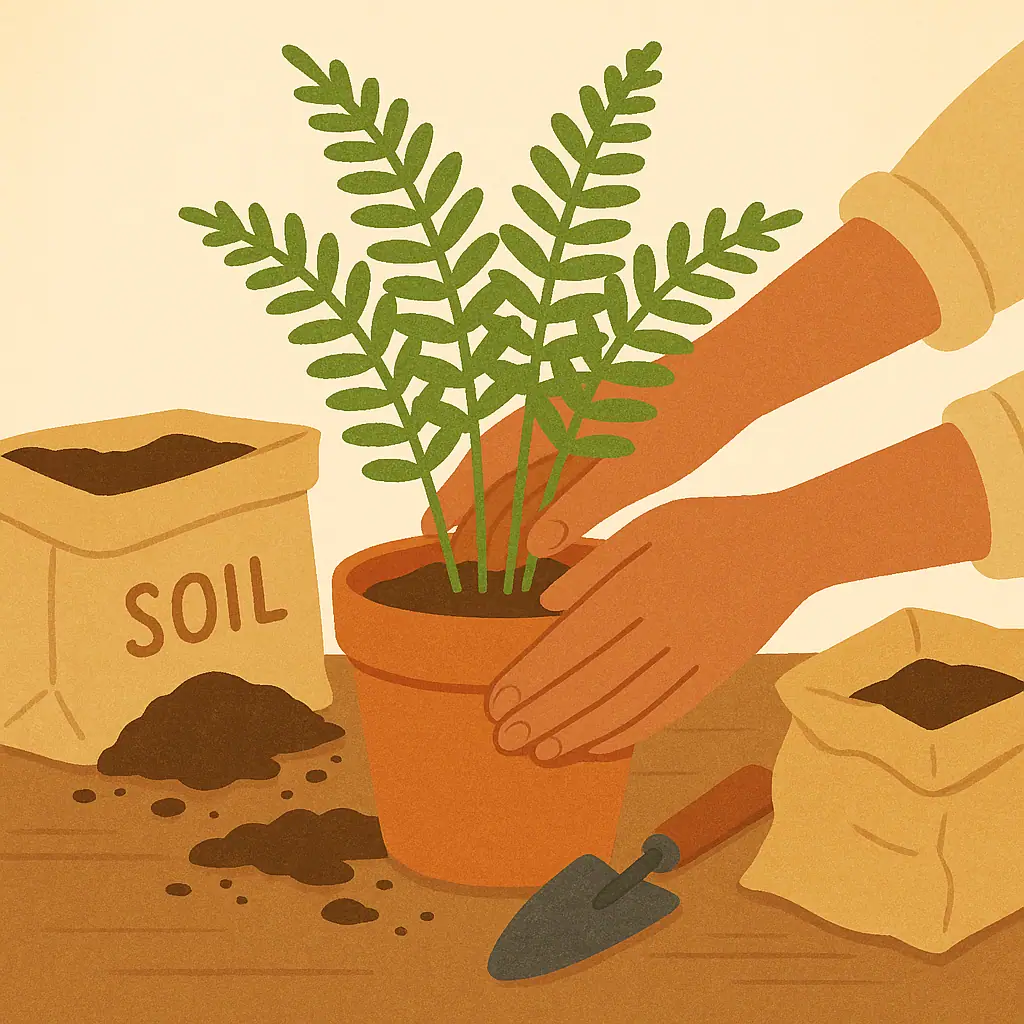
Transplanting Young Ferns
Once your young ferns reach about 1–2 inches tall and have developed two or three fronds, they're ready to transplant. Don't try to separate individual plants — it's far too easy to damage them at this stage. Instead, transplant small clumps of 2–3 young ferns together into small pots filled with a coarser potting mix than your germination medium.
Keep the newly transplanted ferns under a clear plastic dome or bag for the first week to ease the transition from the high-humidity germination environment to normal room conditions. Each day, prop the dome open a little more to gradually acclimate them. After 10–14 days, most ferns handle ambient conditions well.
- Use small pots first: 2–3 inch pots are ideal for clusters of young ferns.
- Maintain indirect light: No direct sun until plants are fully established.
- Water carefully: The soil should stay barely moist; young roots are fragile.
- Be patient: Growth is slow at first and accelerates once roots establish.
Pros and Cons of Growing from Spores
Dozens of plants from one frond
A single fertile frond can yield hundreds of spores — and potentially many new plants.
Deeply rewarding process
Watching ferns develop from microscopic spores to full plants is genuinely satisfying.
Access to rare varieties
Spores of unusual fern species can be traded or purchased when plants themselves aren't available.
Takes months
From spore to established plant typically takes 3–6 months — this isn't a quick propagation method.
Sterilization is critical
Without proper sterilization, contamination from mold or moss will easily outcompete your spores.
Not all species work equally well
Some fern varieties germinate easily from spores; others are finicky and unpredictable.
Frequently Asked Questions
How do I know when spores are ready to collect?
The sori (spore clusters on the underside of fronds) turn from green to dark brown and look almost powdery when spores are ripe. Gently touch a sorus — if a brown dust appears on your finger, they're ready.
My container has green slime — is that normal?
A little green growth on the surface is usually algae or prothalli — both are expected. Dense green slime that smells musty might indicate contamination. Open the container to improve airflow and check if the fern prothalli are still visible.
Nothing is growing after 8 weeks — what went wrong?
Possible causes include: spores that were too old, growing medium that wasn't fully cooled before sowing, too much or too little light, or contamination that killed the spores early. Try a fresh batch with fresh spores and extra attention to sterilization.
Can I buy fern spores?
Yes. The American Fern Society and various specialty plant communities online offer spore exchanges and sales. This is a great way to access rare or unusual fern varieties.
Final Thoughts
Growing ferns from spores is one of those gardening projects that connects you to something much larger than a houseplant. You're witnessing a life cycle that predates dinosaurs — quiet, unhurried, and remarkable. It demands patience, but the reward is a tray full of tiny ferns that you grew entirely from scratch.
Start with one container, one frond, one careful attempt. Even if your first try doesn't fully succeed, the process teaches you more about how ferns actually live and reproduce than any book can. That knowledge makes you a better grower for every fern in your collection.