There's something quietly rewarding about pausing to really look at your ferns. The way light catches the delicate fronds of a Maidenhair fern, or the bold architectural shape of a Bird's Nest fern sitting in a ceramic pot — these are genuinely beautiful moments worth capturing. And the good news is, you don't need professional equipment to do it well.
Whether you want to document your plants' progress over time, share your indoor garden with friends and family, or simply celebrate the beauty you've cultivated, learning a few basic photography principles can make a big difference. This guide focuses entirely on what works for ferns specifically — their textures, their light preferences, and the way they interact with their surroundings.
Why Photographing Your Ferns Is Worth the Effort
Beyond the obvious joy of having beautiful photos, photographing your indoor ferns regularly has some practical benefits that dedicated plant growers quickly discover. A photo record of your plants over weeks and months reveals growth patterns, documents the recovery of a struggling plant, and helps you spot early signs of health issues you might miss in daily observation.
Many fern enthusiasts also find that the act of photographing their plants slows them down long enough to truly observe them. You notice a new fiddlehead you hadn't spotted, a particularly beautiful frond, or the way morning light transforms the whole corner of the room. Photography turns into a form of mindful attention to your garden.
The Most Important Element: Light
If there is one thing that separates a good plant photo from a great one, it is light. Ferns happen to thrive in exactly the kind of light that is also ideal for photography: bright, indirect, soft, and consistent.
The best times to photograph your indoor ferns are during the golden hours — early morning and late afternoon — when natural light comes in at a low angle and creates soft, warm illumination. At these times, the light wraps gently around the fronds without creating harsh shadows.
Overcast days are a hidden photography gift. The clouds act as a giant natural diffuser, softening shadows and creating even, flattering light across the entire plant. If you've been waiting for the perfect day to photograph your ferns, a lightly overcast morning is actually ideal.
Avoid photographing under artificial yellow or warm-toned indoor lighting alone. It shifts the color of your ferns significantly, making them look more olive or yellow than the vibrant green they really are. If you must shoot indoors at night, use a daylight-balanced LED light positioned to one side of the plant rather than directly above it.
Camera Angles and Composition
Once you have good light, the next most impactful choice you can make is your angle. The same fern photographed from three different angles produces three completely different photos — and only one of them is likely to feel truly compelling.
Angles That Work Well for Ferns
Ferns have a natural, spreading growth habit, which means different varieties reward different angles. Here's a quick framework:
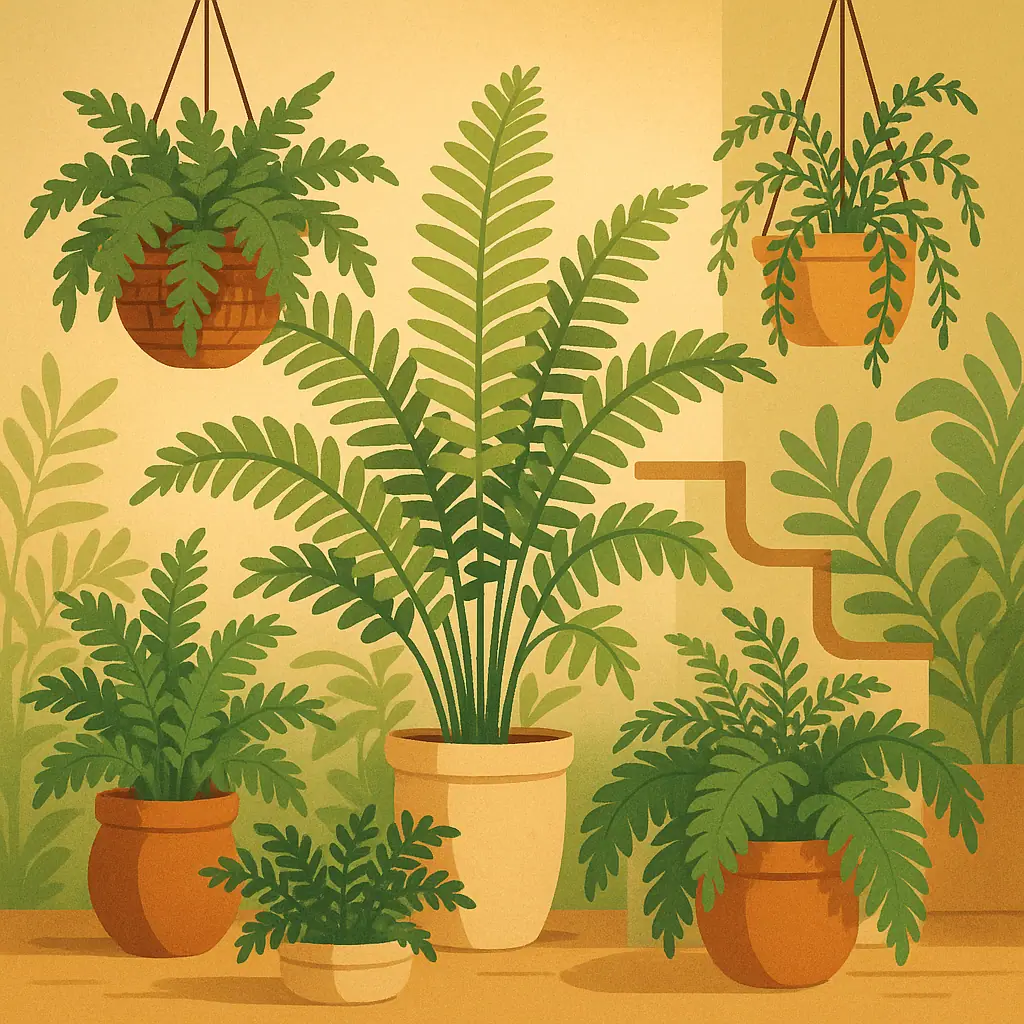
- Eye-level or slightly above: Works well for upright ferns like Bird's Nest or Holly fern. You see the full shape of the plant and the rosette clearly.
- Low angle looking up: Works beautifully for hanging ferns like Boston fern. Looking up into the cascading fronds from below creates a dramatic, almost canopy-like effect.
- Overhead (flat lay): Perfect for ferns in small pots displayed on a table. A top-down shot captures the full symmetry of the fronds and the pot in a clean, graphic way.
- Close to the soil level: For large floor ferns, getting your phone down near soil level and shooting upward creates a sense of scale and lushness that feels immersive.
Getting Close-Up Shots of Fern Details
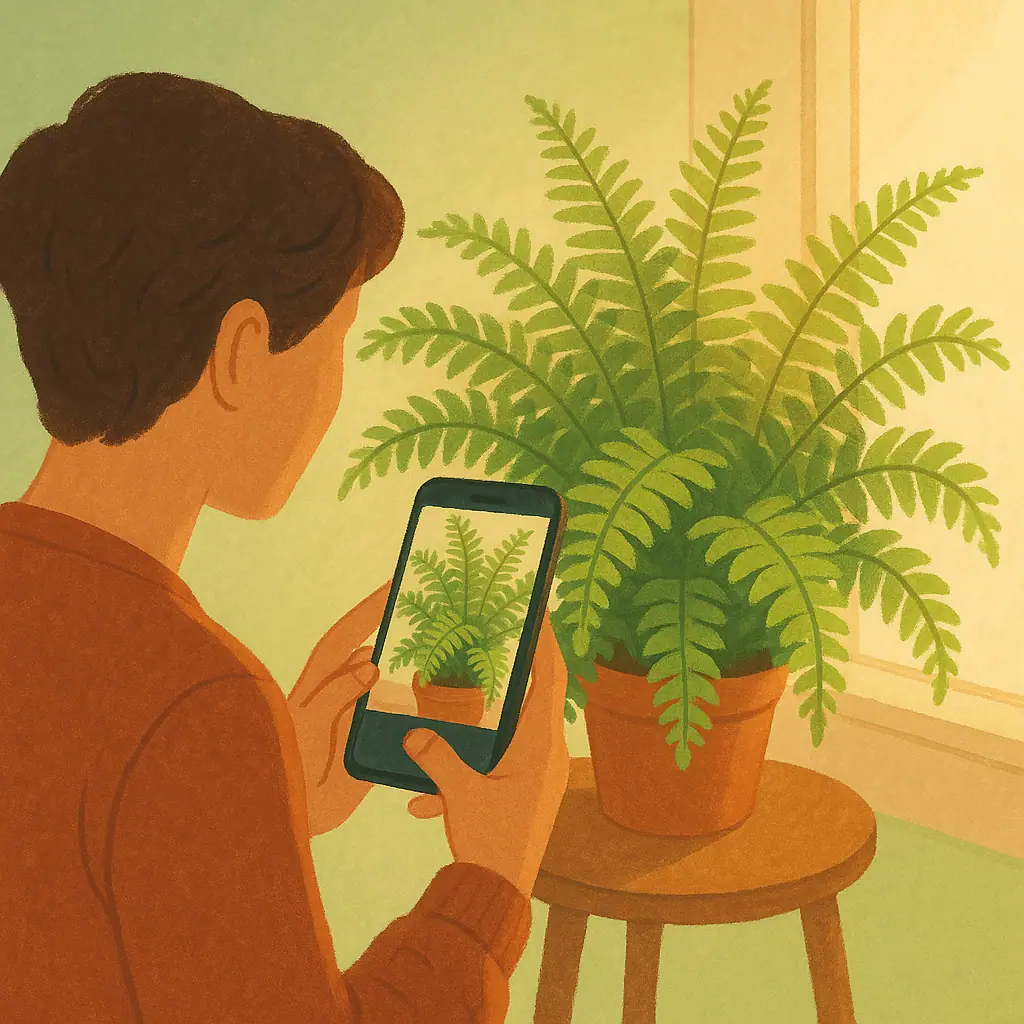
Some of the most beautiful fern photographs are not of the whole plant but of small details: the spiral of a new fiddlehead uncurling, the texture of spores on the underside of a mature frond, or the delicate lace pattern of Maidenhair fern leaflets.
Most smartphones have a macro or portrait mode that handles close-up focus well. Get within 2–4 inches of the detail you want, tap your screen to focus on that specific spot, and let the background blur naturally. The contrast between a sharp, detailed frond and a soft green blur behind it is visually striking and requires no editing skill to achieve.
Background and Composition Tips
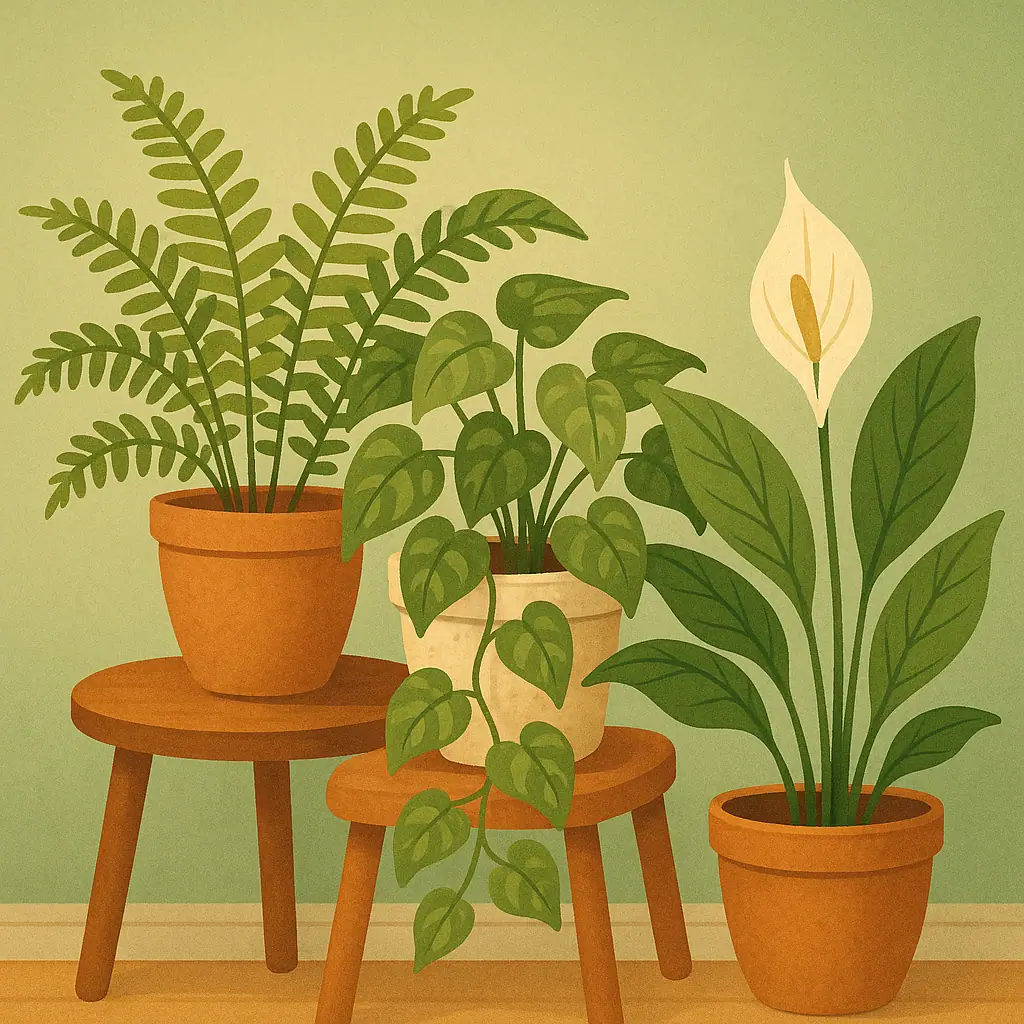
The background behind your fern matters more than most people realize. A cluttered background competes with the plant for attention; a clean, simple background makes the fern the undisputed subject of the photo.
A plain white or cream wall is the classic choice and nearly always works. But don't overlook the natural backgrounds your home already provides: a softly blurred bookshelf, a linen curtain catching the light, or even a section of the garden visible through a window. The key is that the background should complement, not compete.
- Use portrait mode: This creates a softly blurred background (bokeh) that makes your fern pop as the subject, even in front of a moderately busy background.
- Apply the rule of thirds: Enable the grid on your smartphone camera and position the fern slightly off-center — at one of the intersecting grid lines rather than dead center. The result feels more natural and visually interesting.
- Include something interesting in the frame: A ceramic pot, a wooden surface, a book, or a cup of tea nearby gives the photo a sense of scale and personality without distracting from the fern itself.
- Clean your lens first: Sounds obvious, but a smudged phone lens is the single most common reason indoor plant photos look soft or hazy. Wipe it before every session.
Pros and Cons: Smartphone vs. Dedicated Camera
Always with You
You can capture a beautiful frond the moment you notice it, without setting up equipment or searching for a camera.
Portrait and Macro Modes Built In
Modern smartphone cameras have impressive close-up and background blur capabilities that produce professional-looking results with minimal effort.
Immediate Sharing
Photos are instantly ready to share with friends or save to your plant journal without any file transfer needed.
Limited in Low Light
In dark corners or during evening hours, smartphones struggle with grain and color accuracy compared to a dedicated camera with a larger sensor.
Digital Zoom Loses Quality
Zooming in digitally on a smartphone degrades image sharpness noticeably. Always physically move closer to your subject instead of pinching to zoom.
Frequently Asked Questions
Do I need a special app to photograph plants well?
Not at all. The native camera app on most modern smartphones is excellent for indoor plant photography. If you want to go further, free apps like Snapseed allow you to adjust exposure, color, and sharpness after the shot, but the built-in camera is more than capable for great results.
Should I mist my ferns before photographing them?
A light mist can add beautiful water droplets to fronds, which catch the light beautifully in close-up shots. However, don't over-mist just for a photo — excessive misting on ferns that don't need it can promote fungal issues. A quick mist right before shooting, with good airflow, is perfectly fine.
How do I get the green color to look accurate in photos?
The biggest culprit for color shifts is lighting color temperature. Photograph in natural daylight whenever possible, as artificial warm lighting makes ferns look yellowish. If using your phone's editing tools, adjusting the white balance or reducing the yellow tones can restore the true vibrant green of your ferns.
What is the best way to photograph a hanging fern?
For hanging ferns like Boston ferns, try shooting from slightly below, angled upward, to capture the full cascade of fronds. Make sure there's soft light coming from the side or front — backlighting a hanging fern with a window behind it creates a beautiful rim-light effect that highlights every frond edge.
Final Thoughts
You don't need to be a photographer to take beautiful pictures of your indoor ferns. You need good light, a clean lens, and the willingness to take a few extra minutes to find an angle that does justice to the plant you've been patiently growing.
Start simple: one fern, morning light, eye-level angle. Take ten photos instead of one. Look at them on a larger screen and notice what you like and what you'd change. Each time you do this, your eye gets better — and so do the photos.