Growing beautiful indoor ferns doesn't have to be complicated, but avoiding common mistakes is absolutely essential. After helping hundreds of people rescue their dying ferns, I've noticed the same errors happening again and again. The good news? Once you know what not to do, keeping ferns healthy becomes much easier.
Whether you're a complete beginner or someone who's struggled with ferns before, understanding these mistakes can save you frustration (and money). Let's walk through the most common fern care errors and how to avoid each one.
The #1 Mistake: Watering Wrong
Watering mistakes kill more ferns than anything else. It's not just about watering too much or too little — it's about understanding what "just right" actually means for these moisture-loving plants.
Recognizing Watering Problems Early
Overwatering signs: Yellow, droopy fronds that feel mushy at the base. The soil stays soggy for days, and you might notice a musty smell from the pot.
Underwatering signs: Crispy brown frond tips that crunch when you touch them. The entire plant looks wilted, and the soil pulls away from the pot edges.
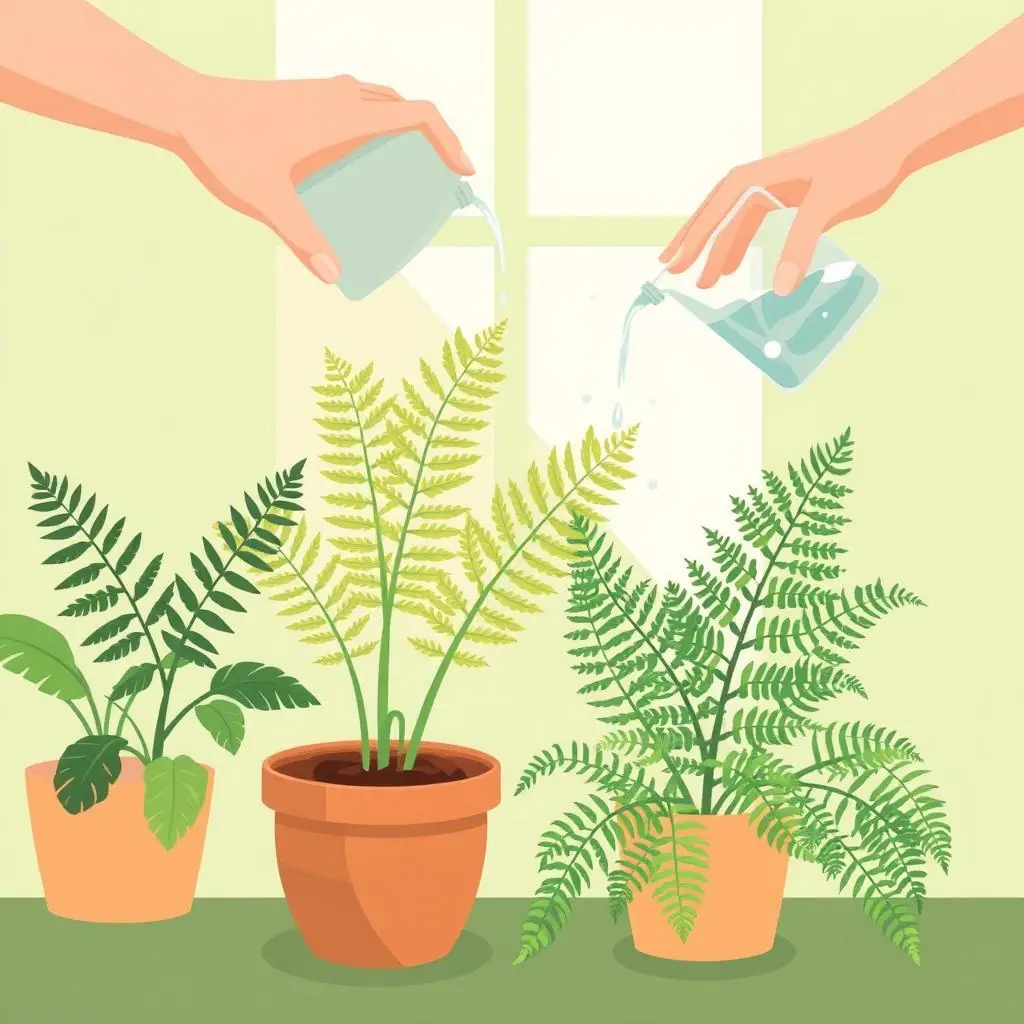
The fix is simple but requires attention. Ferns want consistently moist soil that feels like a wrung-out sponge — damp but never dripping. Check the soil with your finger. If the top inch feels dry, it's time to water thoroughly until water drains from the bottom.
Creating Desert Conditions in Your Living Room
Most homes, especially during winter, have humidity levels around 20-30%. Your ferns are dreaming of the 50-60% humidity they'd enjoy in their natural forest habitat. This huge difference is why so many ferns develop those telltale brown, crispy edges.

Why Misting Doesn't Work
Many people try misting, but this actually creates more problems than it solves. The water droplets can encourage fungal diseases, and the humidity boost lasts only minutes.
Better humidity solutions:
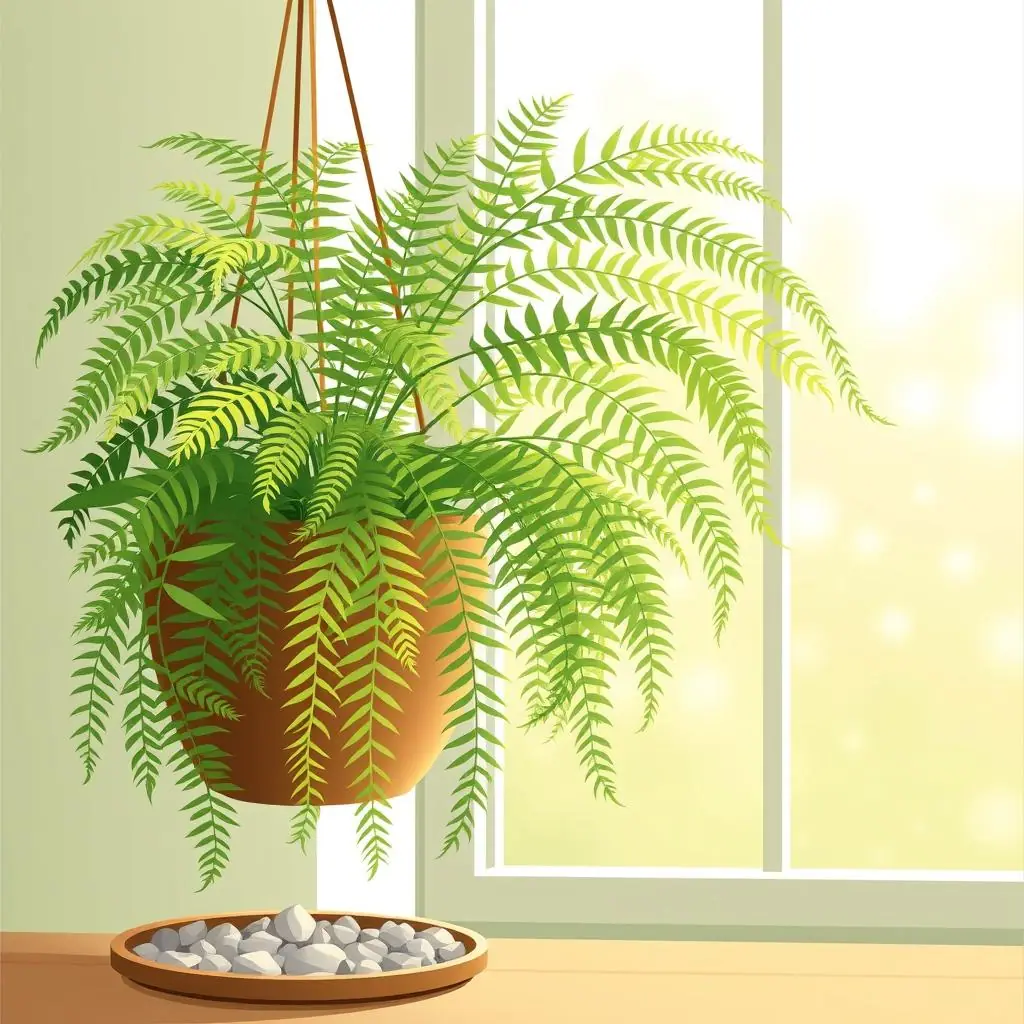
- Pebble trays: Place a wide, shallow tray filled with pebbles and water beneath your fern's pot. Make sure the bottom of the pot doesn't touch the water.
- Plant grouping: Cluster your houseplants together to create a more humid microclimate.
- Room humidifier: The most effective solution, especially for multiple plants.
Light Confusion: Too Much vs Too Little
Ferns in nature grow on forest floors under a canopy of trees, receiving bright but filtered light. Recreating this indoors means avoiding both extremes: the dark corner and the sunny windowsill.
Understanding Light-Related Damage
Too much light: Fronds become pale yellow or develop brown, scorched patches. Growth slows down because the plant is stressed.
Too little light: New growth becomes thin and stretchy. The plant looks sparse and may develop yellowing from the center outward.
The sweet spot for most ferns is bright, indirect light. Think of a spot near an east-facing window or a few feet back from a south-facing window with sheer curtains. Your fern should receive plenty of brightness without direct sun rays hitting the fronds.
Soil and Container Mistakes That Suffocate Roots
Using the wrong potting setup is like making your fern wear shoes that don't fit. Even with perfect watering and lighting, poor drainage or compacted soil will eventually kill your plant.
Choosing the Right Soil Mix
Common soil mistakes:
- Regular potting soil: Too dense and holds water too long, leading to root rot.
- Garden soil: Never use this indoors — it's too heavy and may contain pests.
- No drainage holes: Without an escape route, excess water has nowhere to go.
Choose a well-draining potting mix designed for houseplants, ideally one with perlite or bark chips mixed in. The soil should feel light and airy in your hands, not dense like clay.
The "More is Better" Fertilizer Trap
Many new plant parents think feeding their ferns frequently will make them grow faster and healthier. In reality, ferns are light feeders that can be easily burned by too much fertilizer.
Signs of over-fertilizing: Brown, crispy leaf tips (similar to low humidity, but caused by salt buildup). Growth may actually slow down, and new fronds might emerge smaller or deformed.
During growing season (spring and summer), use a diluted liquid fertilizer at half the recommended strength, applied monthly. In fall and winter, skip fertilizing entirely — your ferns are resting and don't need the extra nutrients.
Temperature Stress and Draft Damage
Ferns are creatures of habit who hate sudden changes. Placing them near heating vents, air conditioners, or drafty windows creates stress that shows up as drooping, yellowing, or dropping fronds.
Keep your ferns in areas where temperatures stay consistently between 60-75°F (15-24°C). Avoid spots where they'll experience daily temperature swings of more than 10 degrees.
Ignoring Early Pest Signs
Small pests like spider mites and scale insects often go unnoticed until they've established large populations. By then, your fern is already stressed and struggling.
Check your ferns weekly for tiny webs (spider mites), sticky honeydew substance (scale insects), or white cotton-like clusters (mealybugs). Early detection makes treatment much easier and more effective.
Pros and Cons of Common Fern Care Approaches
Daily observation
Catching problems early before they become serious issues.
Consistent care routine
Regular watering and humidity checks keep plants stable.
Learning from mistakes
Each error teaches you to better understand your plant's needs.
Over-attention
Checking and adjusting too frequently can stress plants unnecessarily.
Inconsistent care
Forgetting routines during busy periods leads to neglect.
Frequently Asked Questions
How do I know if I'm making watering mistakes?
Check the soil moisture with your finger before every watering. If it's still moist below the surface, wait another day or two. Yellow fronds usually indicate overwatering, while crispy brown fronds suggest underwatering.
Can I save a fern that's already showing signs of these mistakes?
Yes, in most cases! Stop the problematic care immediately, trim off damaged fronds, and adjust your routine. Ferns are surprisingly resilient and often bounce back within a few weeks of proper care.
What's the most forgiving fern for beginners prone to mistakes?
Boston ferns (Nephrolepis exaltata) are incredibly forgiving and bounce back quickly from care errors. Bird's nest ferns (Asplenium nidus) are also excellent choices for learning proper fern care without high stakes.
Should I repot my fern if I suspect soil problems?
If you're dealing with persistently soggy soil or suspect root rot, repotting with fresh, well-draining potting mix can save your plant. Choose a pot with drainage holes and avoid going up more than one size.
Moving Forward with Confidence
Remember, every experienced plant parent has killed their share of ferns while learning. The key is recognizing these common mistakes early and adjusting your care routine accordingly. Your ferns will forgive minor slip-ups as long as you're paying attention to their needs.
Start with one or two ferns and focus on mastering the basics: consistent moisture, adequate humidity, bright indirect light, and well-draining soil. Once these become second nature, you'll be ready to expand your collection with confidence.
Most importantly, don't let fear of making mistakes prevent you from enjoying these beautiful plants. With the knowledge you now have, you're already ahead of most beginning fern parents.