Nothing breaks a plant lover's heart quite like watching beautiful green fern fronds slowly turn brown and crispy. If you're dealing with this frustrating problem right now, take a deep breath — brown fern leaves are usually fixable once you understand what's causing them.
After years of helping people rescue their struggling ferns, I've learned that brown leaves almost always tell a story about what's happening in your plant's environment. The good news? Most causes are simple to identify and even simpler to fix once you know what to look for.
Reading the Brown Leaf Signals
Before jumping into solutions, it's important to understand that not all brown fern leaves look the same. The pattern and location of browning gives you valuable clues about the underlying problem.
Different Types of Brown Leaf Patterns
Crispy brown tips and edges: Usually indicates low humidity or mineral buildup from tap water. The browning starts at the most delicate parts of the frond and works inward.
Brown patches or spots: Often caused by too much direct sunlight scorching the delicate frond tissue. You might also see yellowing around the brown areas.
Whole fronds turning brown from the base: This pattern typically suggests overwatering or root problems. The browning starts where the frond meets the soil and spreads upward.
Random scattered brown areas: Could indicate pest damage, disease, or mechanical injury from handling or pets.
The Most Common Culprit: Watering Problems
In my experience, about 70% of brown fern leaf cases come down to watering issues. Ferns have very specific moisture needs, and getting this wrong shows up quickly in their foliage.

Underwatering Signs and Solutions
When ferns don't get enough water, they can't maintain their delicate frond structure. The leaves become crispy and brown, starting from the tips and edges where the plant tissues are most fragile.
Quick fix: Check the soil moisture daily by sticking your finger about an inch deep. If it feels dry, water thoroughly until water drains from the bottom holes. Then establish a more consistent watering routine.
Signs you were underwatering: Soil pulling away from pot edges, fronds feeling papery and crunchy, and the whole plant looking droopy even after watering.
Overwatering Complications
Overwatering is trickier because the damage often starts with the roots where you can't see it. By the time fronds turn brown, the root system may already be compromised.
Emergency steps: Stop watering immediately and check the roots if possible. Healthy roots should be white or light brown and firm. Black, mushy roots need to be trimmed away, and the plant should be repotted in fresh, well-draining soil.
Humidity: The Make-or-Break Factor
Most homes have humidity levels between 20-40%, but your ferns are dreaming of the 50-70% humidity they'd enjoy in their natural habitat. This gap often shows up as persistent brown, crispy edges no matter how perfectly you water.
Quick humidity test: If brown edges appear on multiple fronds and you're confident your watering is correct, low humidity is likely the issue.
Fast solutions:
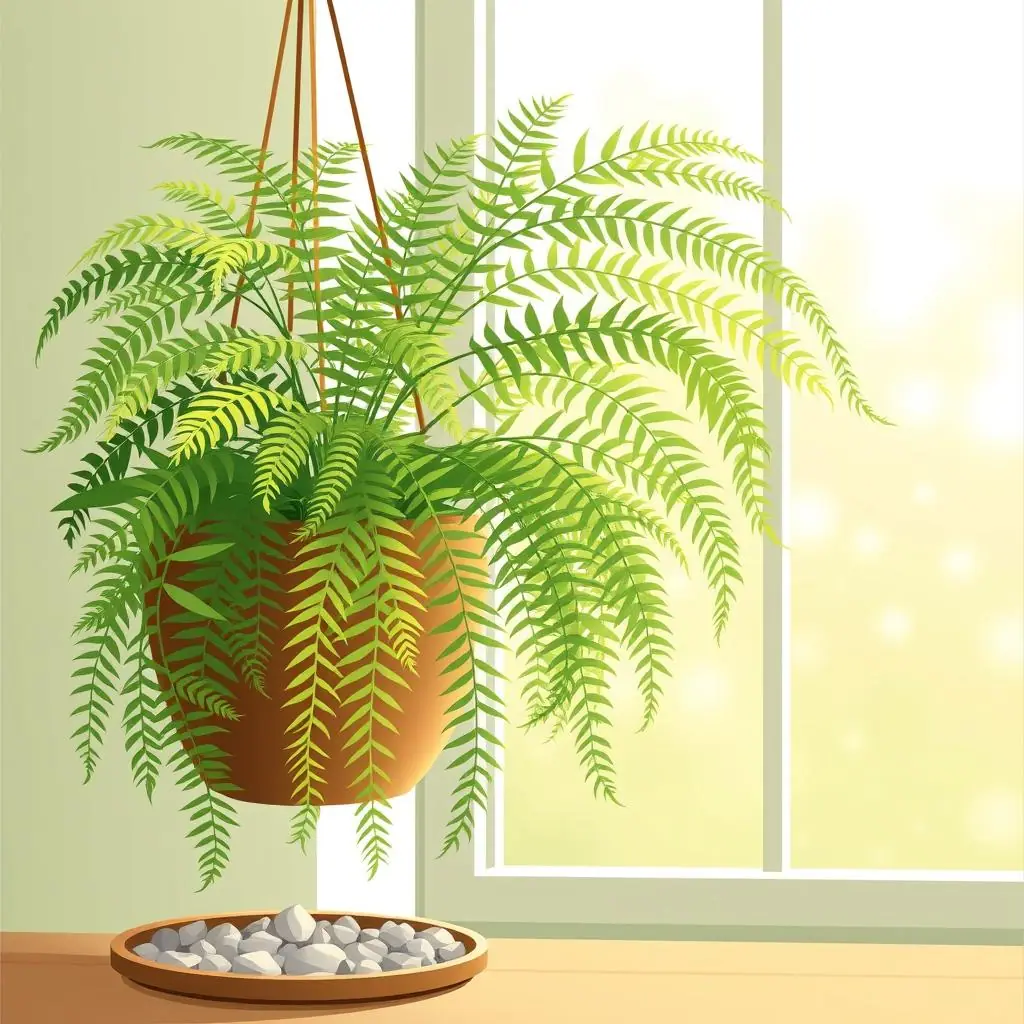
- Pebble trays: Fill a shallow tray with pebbles and water, then place your fern pot on top (not touching the water).
- Group plants together: Plants release moisture as they breathe, creating a naturally more humid microclimate.
- Bathroom placement: Many ferns thrive in bright, humid bathroom environments.
- Room humidifier: The most reliable long-term solution for multiple plants.
Light Problems: Finding the Sweet Spot
Ferns evolved on forest floors with bright but filtered light. Too much direct sun scorches their delicate fronds, while too little light weakens the entire plant over time.
Sun Scorch Identification
If your fern sits in a south or west-facing window, those brown patches might be sunburn. Move the plant a few feet back from the window or add a sheer curtain to filter the light.
Recovery tip: Trim off badly scorched fronds completely — they won't recover and will just drain energy from the plant.
Hidden Chemical Burns from Tap Water
Many people don't realize that regular tap water can slowly poison their ferns. Chlorine, fluoride, and dissolved salts build up in the soil over time, causing those frustrating brown tips that never seem to go away.
Simple solution: Switch to distilled water, rainwater, or let tap water sit out for 24 hours before using (this removes chlorine but not fluoride or salts).
Soil flush technique: Once a month, water your fern thoroughly until water runs freely from the drainage holes. This helps flush out accumulated minerals.
When Pests Are the Problem
Small insects like spider mites, mealybugs, and scale insects can cause scattered brown spots or areas where they've been feeding. These pests are often hard to spot until populations are large enough to cause visible damage.
Weekly inspection routine: Check the undersides of fronds and along stems for tiny webs, sticky residue, or small moving dots. Catching infestations early makes treatment much easier.
Temperature Stress and Drafts
Ferns hate sudden temperature changes. Placing them near heating vents, air conditioners, or drafty windows can cause stress that shows up as browning fronds within days.
Ideal conditions: Keep ferns in areas where temperatures stay consistently between 60-75°F (15-24°C) without sudden fluctuations.
Pros and Cons of Different Brown Leaf Solutions
Preventive care
Addressing environmental issues prevents future brown leaves from developing.
Quick visual improvement
Trimming brown fronds immediately makes the plant look healthier.
Learning experience
Each brown leaf episode teaches you more about your fern's needs.
Recovery time
New healthy growth takes weeks to replace trimmed brown fronds.
Trial and error
Finding the exact cause can require adjusting multiple factors.
Natural Aging vs Problem Browning
Here's something that surprises many fern parents: some browning is completely normal and healthy. Older fronds at the base of the plant naturally turn brown and die as new growth emerges from the center.
Normal aging signs: Only the oldest, lowest fronds turn brown while new growth at the crown looks healthy and green.
Problem browning signs: Multiple fronds of different ages turning brown, or browning starting on newer growth near the center of the plant.
Frequently Asked Questions
Should I cut off all the brown fronds immediately?
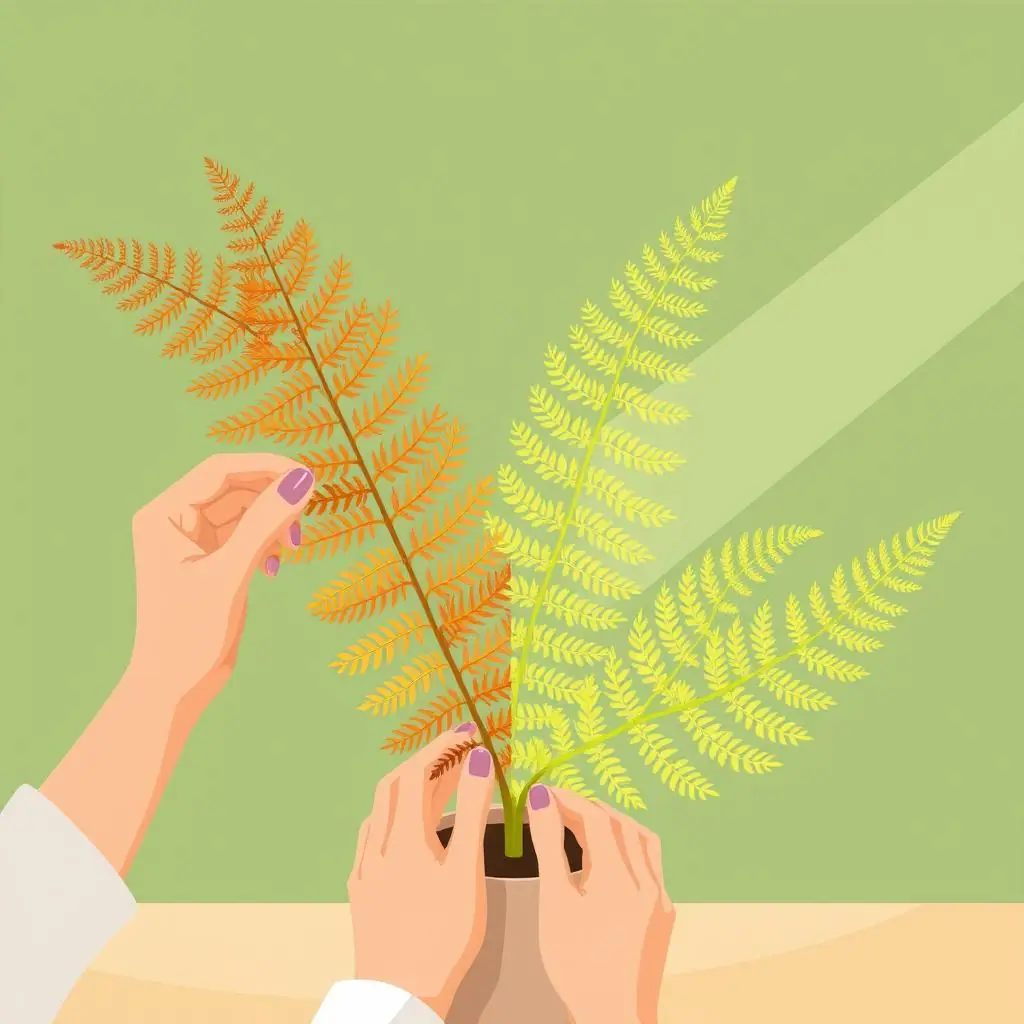
Cut off completely brown fronds, but leave partially brown ones if they still have green areas. Use clean, sharp scissors and cut at the base where the frond meets the main plant. This redirects energy to healthy growth.
How long does it take for new fronds to grow after cutting brown ones?
Healthy ferns typically produce new fronds every 2-4 weeks during growing season (spring and summer). In winter, growth slows significantly, so be patient during colder months.
Can I prevent brown leaves from happening again?
Yes! Once you identify the cause, prevention involves maintaining consistent moisture, adequate humidity, filtered light, and using distilled water. Most brown leaf problems are environmental and completely preventable.
My fern keeps getting brown tips despite my best efforts. What am I missing?
Persistent brown tips usually indicate either low humidity or mineral buildup from tap water. Try increasing humidity with a humidifier and switching to distilled water for 2-3 weeks to see improvement.
Your Recovery Action Plan
Don't feel overwhelmed by all the possible causes. Most brown leaf problems come down to just one or two issues. Start with the most common causes first: check your watering routine, measure humidity levels, and evaluate light conditions.
Make one change at a time and give it 1-2 weeks to see results. This methodical approach helps you identify exactly what your fern needs without overwhelming the plant with too many changes at once.
Remember, brown fronds don't mean your fern is dying — they're just telling you something about the environment needs to be adjusted. With the right care, you'll see beautiful new green growth emerging within a few weeks.